
Budget Gains: Tracking Your Athletic Progress Without the $500 Tech
by Paul Harwood
·
If you’re new to the world of athletic training, or even if you’ve been at it for years, you’ve probably felt the pressure to buy "the gear." You know the stuff: those $500 smartwatches that tell you your blood oxygen levels while you sleep, or laser-timed gates that cost more than a used car.
Here’s a secret: your body doesn’t know how much your watch cost. It only knows the work you put in.
At Rapid Sports, we believe that becoming a better athlete should be accessible to everyone. You don't need a massive bank account to track your speed, power, and growth. You just need a few basic tools and a consistent plan.
In this guide, we’re going to show you how to measure your gains using simple, budget-friendly equipment that actually works.
1. The Power of the Simple Stopwatch
Forget the fancy GPS tracking for a second. If you want to get faster, the humblest tool in your bag is the stopwatch. Whether it’s a dedicated digital timer or just the app on your phone, timing your sprints is the most direct way to measure performance.
For most athletes, focusing on short-distance speed is where the biggest gains happen. Instead of trying to track a full mile, focus on these specific distances:
- 10 Meters: This measures your "acceleration." It’s how quickly you can get moving from a dead stop.
- 20 Meters: This starts to show your transition into top-end speed.
- 40 Yards: The classic standard for many field sports.
How to do it on a budget:
Set up two cones exactly 10 meters apart. Start with one hand on the ground or in a set stance. Start the timer on your first movement and stop it when your chest crosses the second cone.
Doing this 2-3 times a week and recording the numbers will give you a clear map of your progress. If you were hitting 1.9 seconds and now you're at 1.7, you're getting faster. No $500 sensor required.
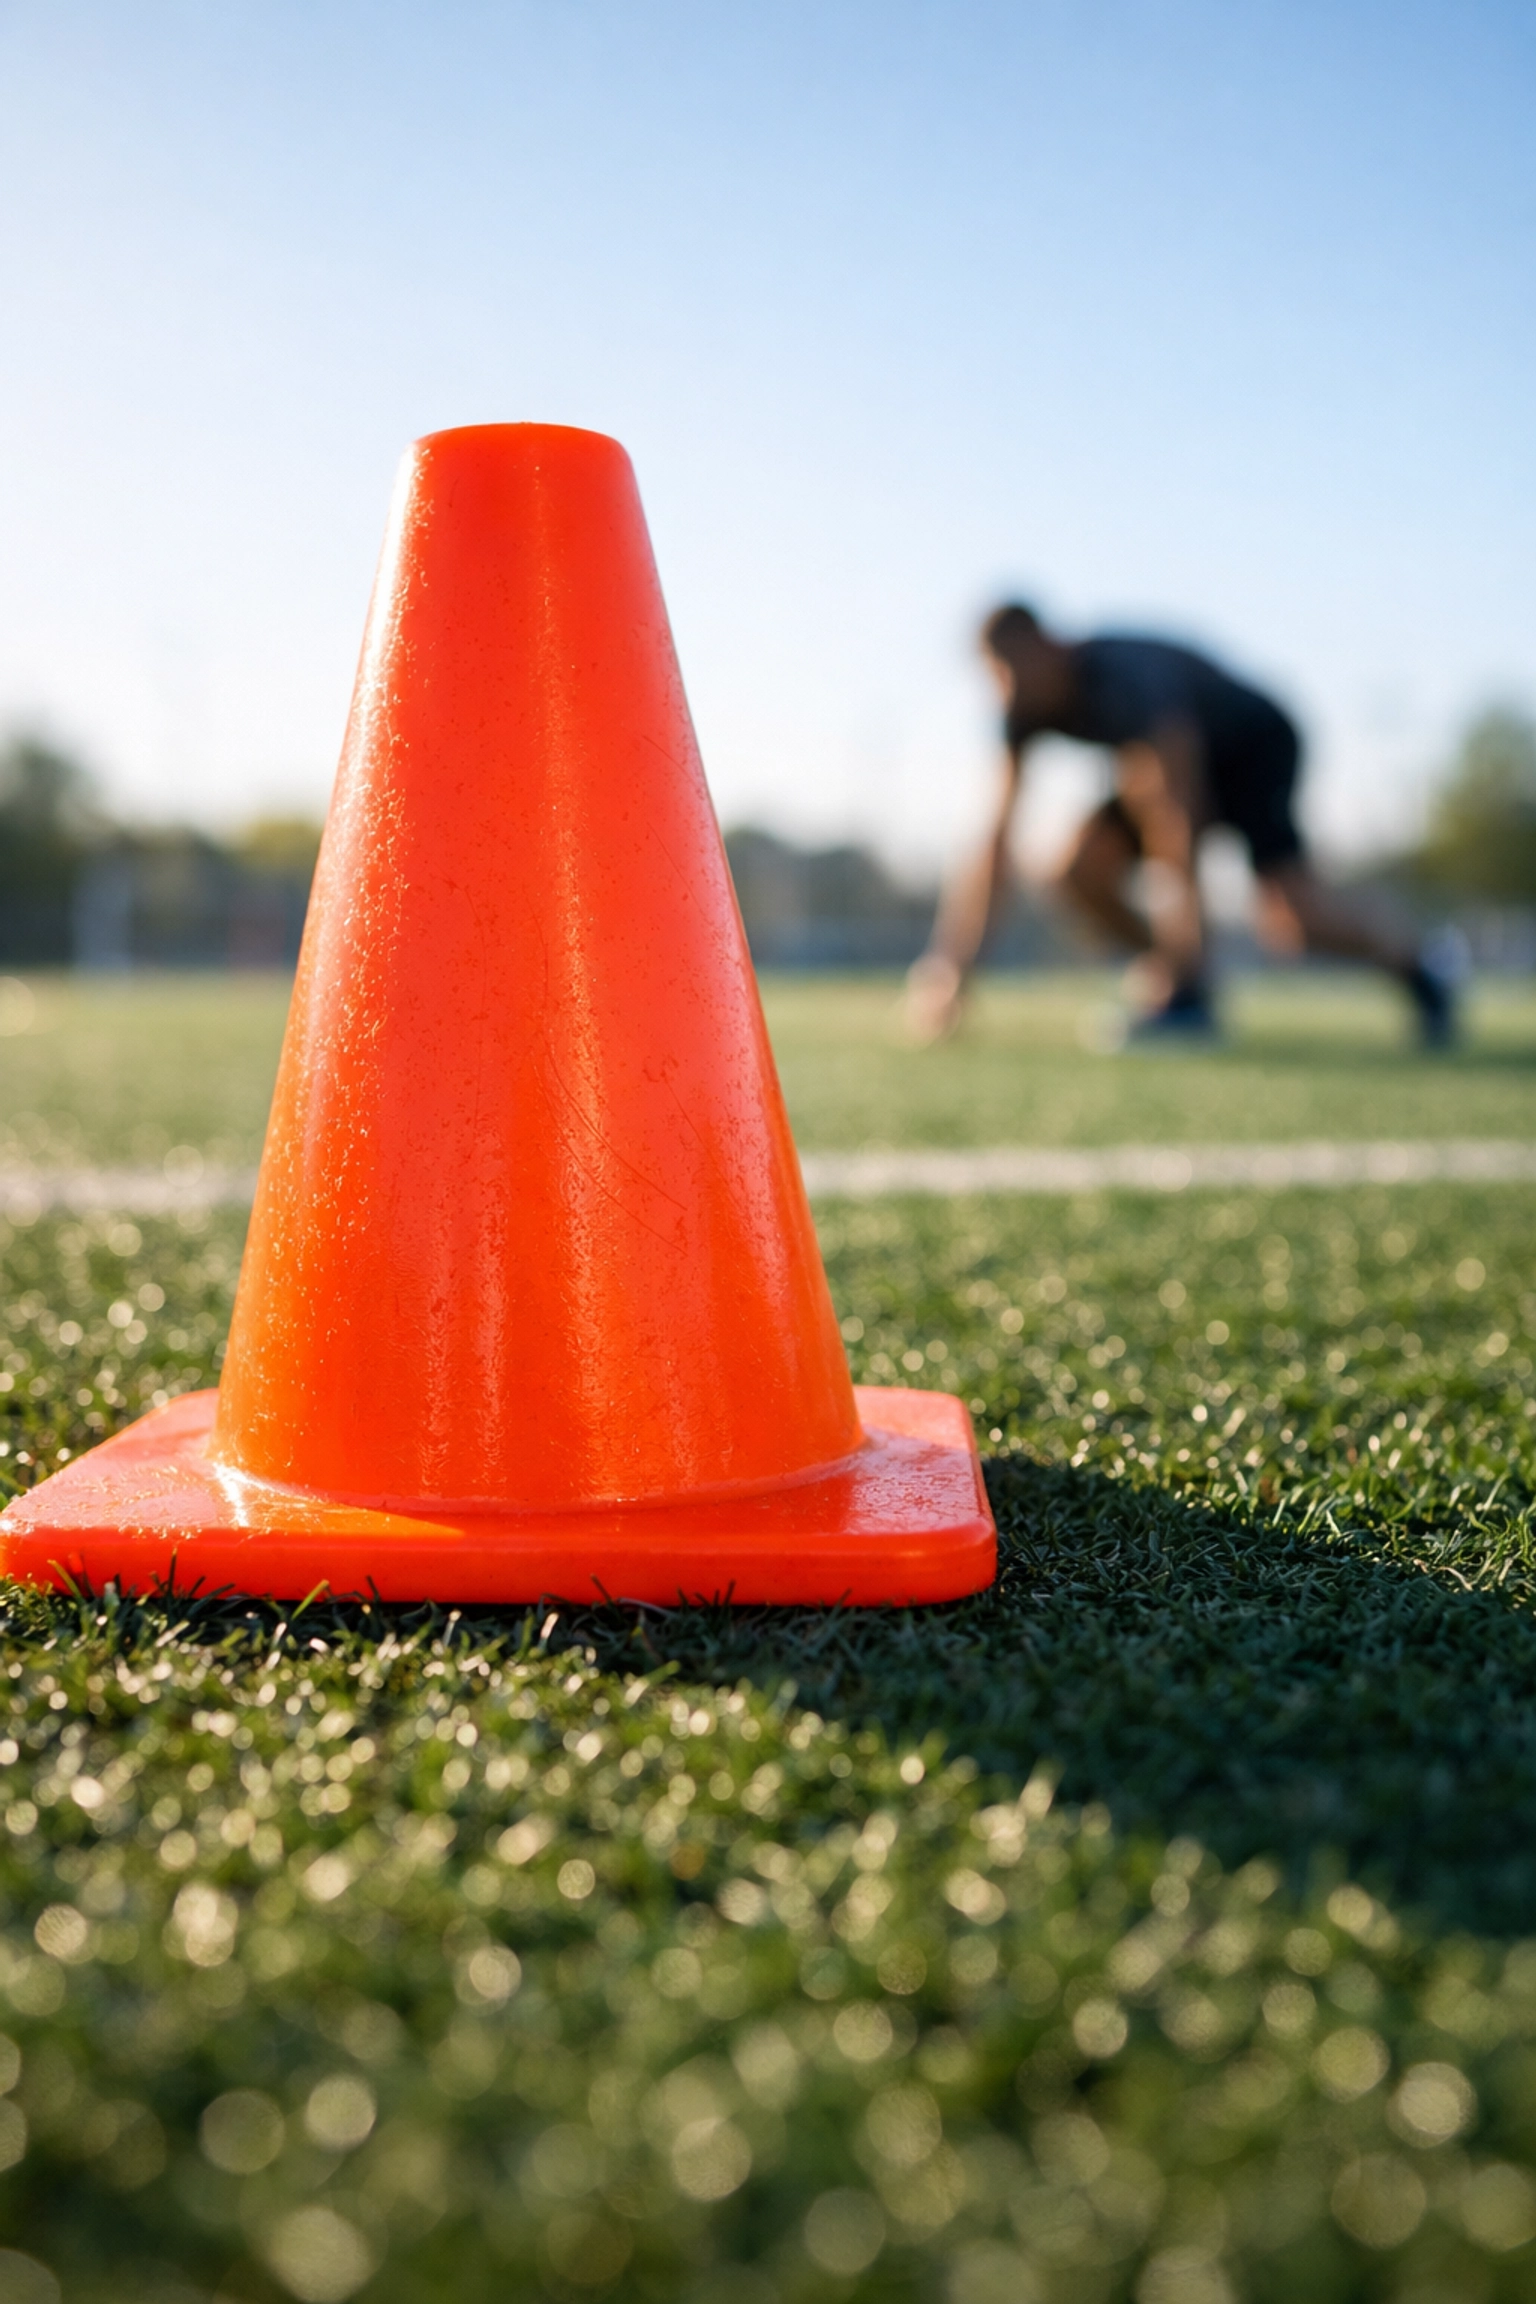
Image Description: A close-up of a bright yellow agility cone on a green turf field, with a single athlete's blurred leg in the background stepping past it. The cone appears large and prominent in the foreground.
2. Measuring Explosiveness with a Tape Measure
"Power" is just strength moved quickly. To track it, you don't need a force plate. You just need a wall, some chalk, or a simple measuring tape.
The Vertical Jump Test:
- Stand next to a wall and reach as high as you can. Mark that spot with a piece of chalk or tape.
- Jump as high as you can and touch the wall at the peak of your jump.
- Measure the distance between the two marks.
The Broad Jump (Long Jump):
Use your agility training markers to create a starting line. Jump forward as far as possible, landing on both feet. Measure from the start line to the back of your heel.
- Pro Tip: Aim for 3-5 attempts per session. Record your best jump.
- Safety Check: Always land with "soft" knees. If your knees are caving inward when you land, stop and focus on your landing mechanics before trying to jump for maximum distance again.
3. The "Free" High-Tech Tool: Your Phone Camera
You likely already own the best piece of tech for improving athletic performance: your smartphone.
Instead of paying for a coach to watch every rep, film yourself. Slow-motion video is a game-changer for technique. When you watch yourself in slow-mo, you’ll see things you can’t feel:
- Are your hips too high in your sprint start?
- Are your knees wobbling during a squat?
- Is your foot landing too far in front of your body when you run?
How to use it:
Prop your phone against a water bottle or a gym bag. Record one set of your main drill from the side and one from the front. Compare your footage to professional athletes on YouTube. This "visual feedback" is worth more than any heart rate monitor when it comes to fixing your technique.
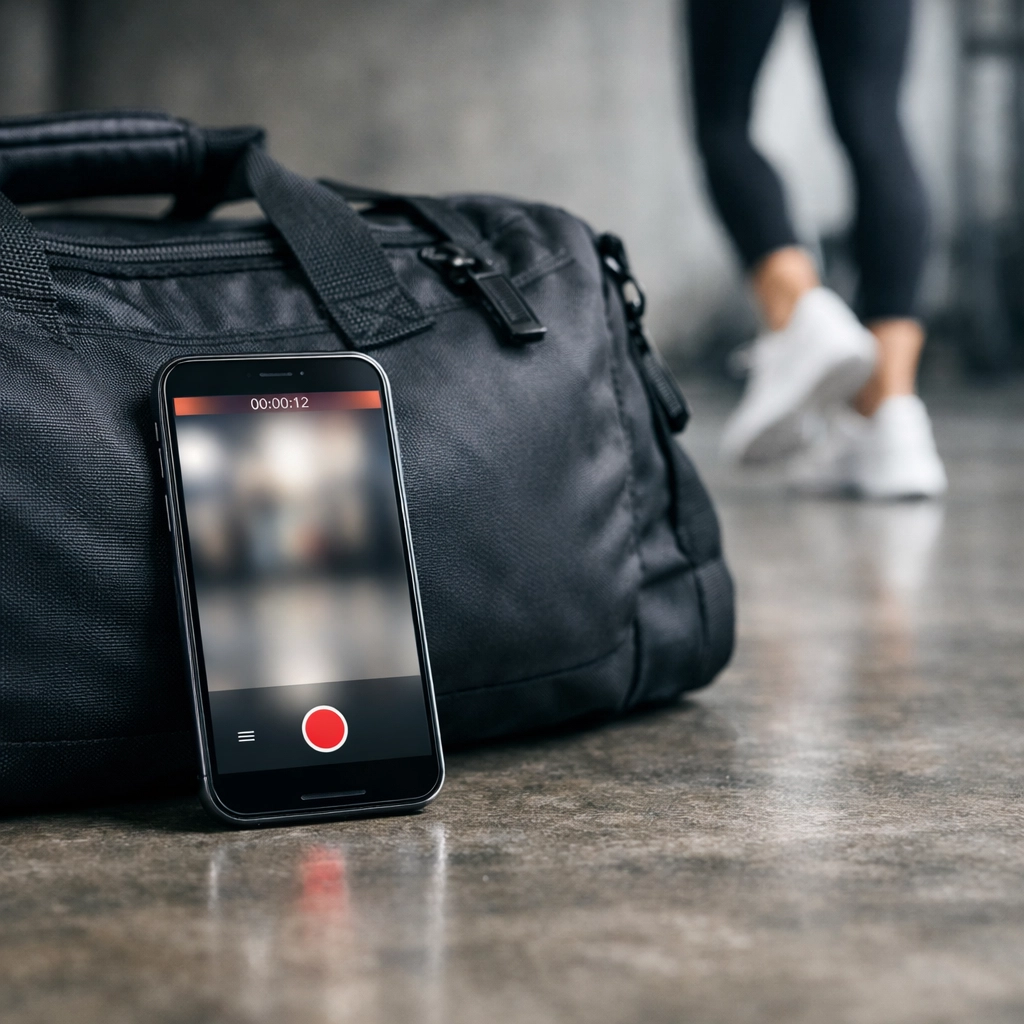
Image Description: A smartphone mounted on a small tripod on a gym floor, focusing on a set of resistance bands nearby. An athlete is partially visible in the distance, performing a stretch.
4. When You Actually Want Some Tech: Sub-$100 Trackers
If you really like having data on your wrist, you don't have to spend a fortune. The market for budget fitness trackers has exploded, and many of them are surprisingly accurate for the price.
According to recent research, you can get serious metrics for under $100:
- Xiaomi Smart Band 10 (~$50): This is a powerhouse for the price. It tracks over 150 workout modes and gives you "Training Load" and "VO2 Max" estimates. It’s perfect for athletes who want to see their recovery time without spending a week's pay.
- Amazfit Active 2 (~$99): If you are a runner or someone who trains outdoors, this one is great because it has built-in GPS. This means you don't have to carry your phone to see how far or fast you ran.
- Fitbit Inspire 3 (~$99): Very simple, very reliable. It’s great for tracking heart rate and sleep: two things that are vital for injury prevention and recovery.
Why budget tech is enough:
Most "pro" features in $500 watches: like maps of the entire world or the ability to take phone calls: don't actually make you a better athlete. A $50 band that tracks your heart rate during resistance band training is usually all you need to ensure you’re working hard enough.
5. The Low-Tech Logbook: Why Paper Wins
There is something powerful about writing your numbers down by hand. Using a physical notebook or one of our training ebooks keeps you focused.
When you use an app, it’s easy to get distracted by notifications. When you use a notebook, it’s just you and your progress.
What to track every session:
- Date and Mood: (1-10 scale) How did you feel?
- The "Big Three" Stats: Your fastest sprint time, your highest jump, or your heaviest lift.
- Volume: How many total reps or sets did you do?
- Recovery: Did you sleep 7-8 hours? Are you sore?
By looking back at your logbook after 4 weeks, you’ll see patterns. Maybe you’re always slower on Mondays because you don't sleep well on Sunday nights. That’s an insight a fancy watch might miss, but your notebook won't.
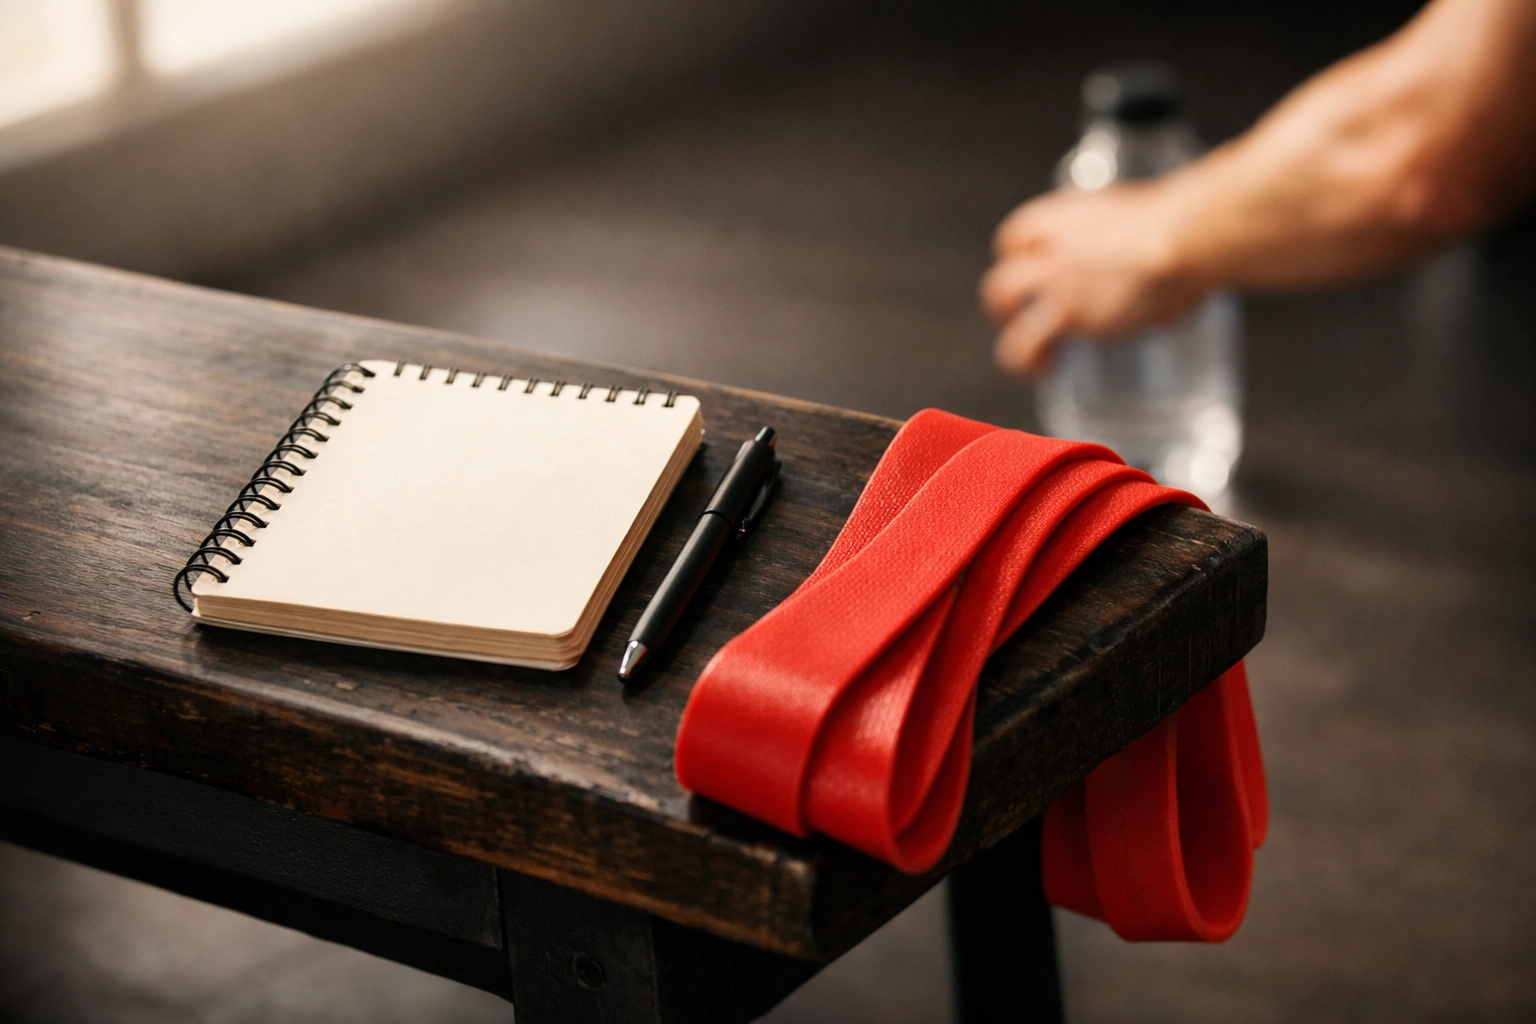
Image Description: A simple spiral notebook and a pen sitting on a weight bench. Next to it is a single high-quality resistance band. The scene is minimalist and clean.
6. Common Mistakes to Avoid
When you're tracking progress on a budget, it's easy to get caught up in the wrong things. Keep these "red flags" in mind:
- Focusing on "Calories Burned": Most budget trackers (and even expensive ones) are notoriously bad at estimating calories. Use the tracker for heart rate and time, but don't live or die by the calorie count.
- Testing Every Day: Don't test your maximum speed or jump every single day. Your nervous system needs rest. Aim to "test" your progress once every 2-3 weeks.
- Ignoring the Feel: If your watch says you’re recovered but your legs feel like lead, listen to your legs. Tech is a tool, not a boss.
7. A Sample 4-Week Progress Plan
If you're ready to start, here is a simple way to structure your tracking:
- Week 1: Establish your "Baseline." Measure your 10-meter sprint, your vertical jump, and your max push-ups. Write them down.
- Week 2 & 3: Focus on the work. Use team training drills or resistance work. Don't worry about the clock too much; just focus on moving perfectly.
- Week 4: Re-test. Go back to those same Baseline drills. Use the same shoes, the same field, and the same stopwatch.
Shaving just 0.1 seconds off a sprint or adding 1 inch to a jump is a massive win. That’s real progress.

Image Description: Two athletes in the distance on a track, viewed from behind a set of hurdles. The hurdles are large and in focus, showing the texture of the material.
Summary of Budget Tools
| Tool | Cost | What it Tracks |
|---|---|---|
| Stopwatch App | $0 | Sprint speed, rest intervals |
| Chalk/Tape | <$5 | Vertical jump, broad jump |
| Phone Camera | $0 (if you own one) | Form, technique, mechanics |
| Agility Cones | Budget-friendly | Acceleration, change of direction |
| Budget Tracker | $50 - $99 | Heart rate, sleep, recovery |
Next Steps: Start Where You Are
You don't need to wait for a big paycheck to start becoming the athlete you want to be. The best athletes in the world often started with nothing more than a pair of shoes and a flat piece of ground.
Your Action Plan:
- Grab a notebook or check out our training ebooks.
- Pick two metrics you want to improve (like speed and power).
- Measure them this weekend using a stopwatch and a tape measure.
- Consistency is the secret sauce. Keep showing up.
Ready to gear up without breaking the bank? Check out our Agility Training collection for the essentials that actually move the needle.
Stop scrolling and start sprinting! 🚀
