
How to Track Team Speed with Cones and a Stopwatch (No Expensive Tech Needed)
by Paul Harwood
·
If you're a coach looking to track your team's speed but don't have hundreds of pounds to drop on fancy electronic timing systems, you're not alone. The good news? You can get meaningful speed data with nothing more than some cones, a stopwatch, and a measuring tape.
You don't need expensive tech to see who's getting faster or which athletes need extra attention. Let's walk through exactly how to set this up and get reliable results that actually help your coaching.
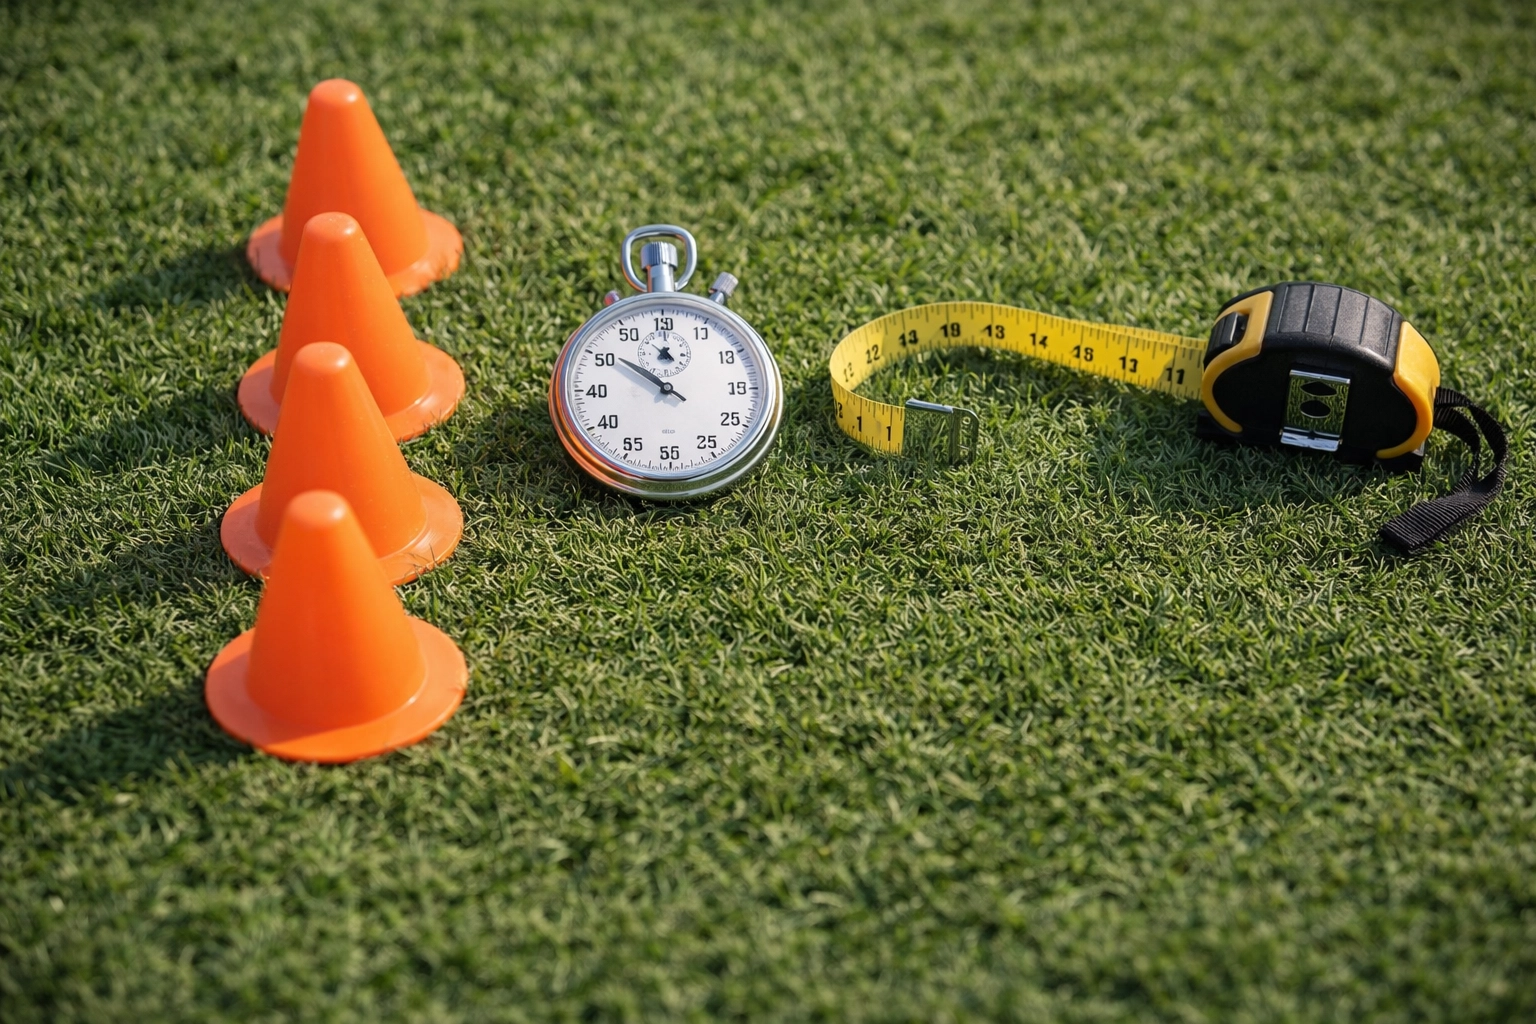
What You'll Actually Need
Here's the simple kit that'll get you started tracking team speed:
- Training cones – You'll need at least 3-5 cones for most speed tests (check out cone sets here)
- Stopwatch – Your phone works fine, or grab a basic sports stopwatch
- Measuring tape – A 20-25 meter tape will cover most testing needs
- Clipboard and paper – For recording times (or use your phone's notes app)
- Flat, non-slip surface – Grass, turf, or a gym floor all work
That's it. No timing gates, no apps, no expensive gadgets. Just agility tools for coaches that get the job done.
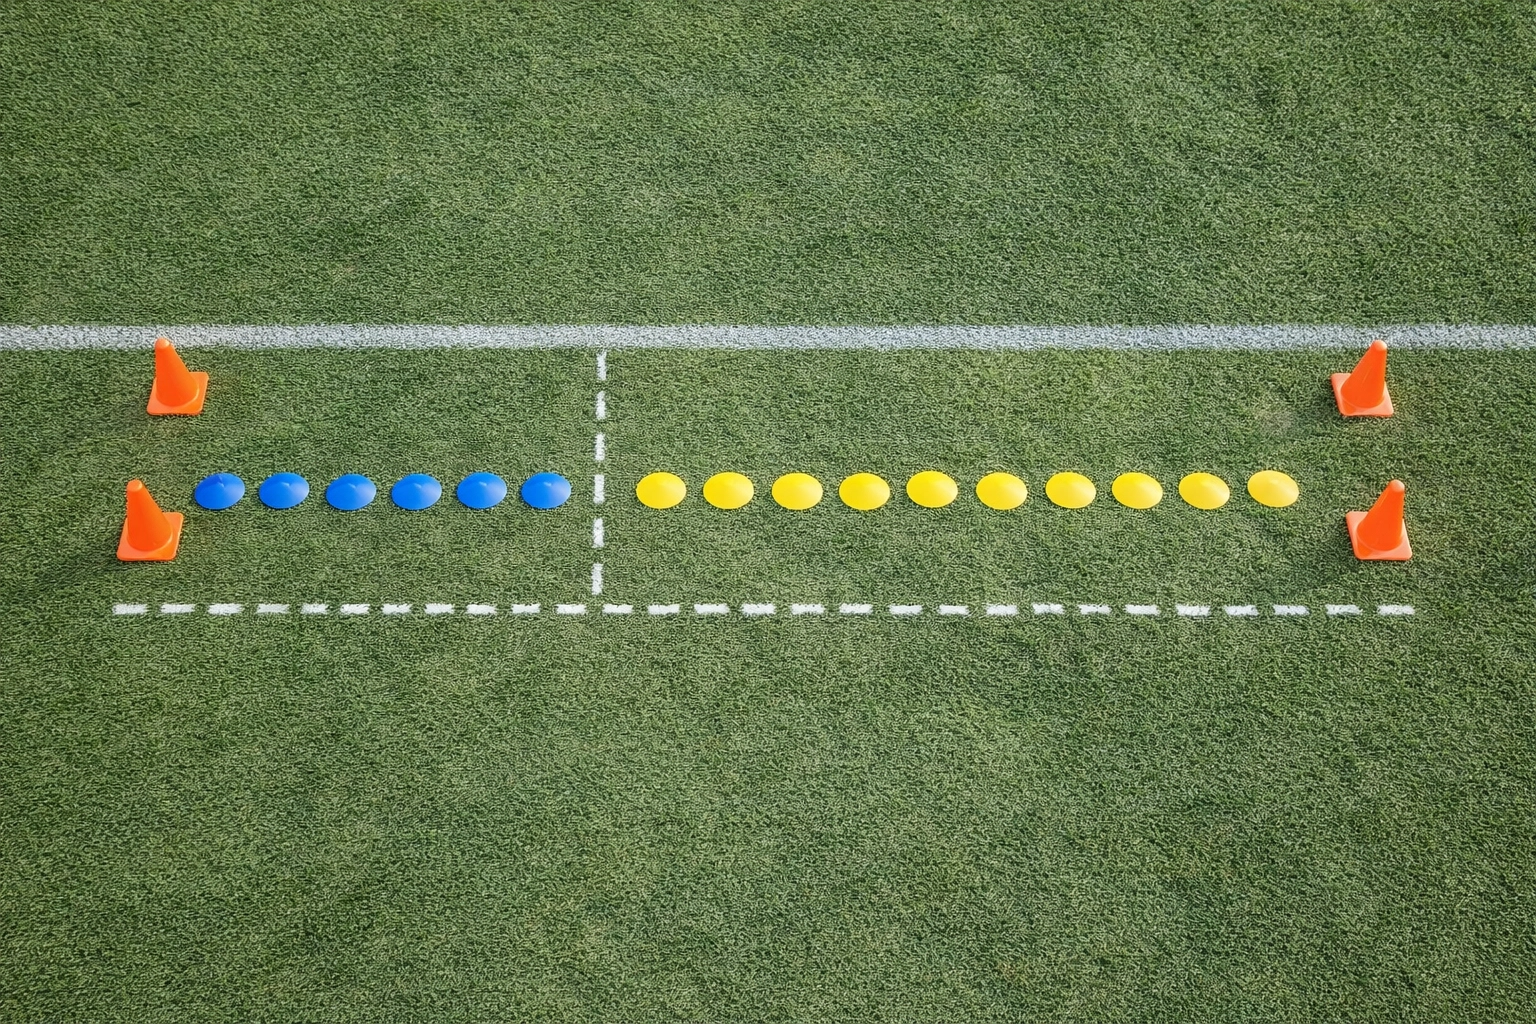
The Three Best Tests for Basic Speed Tracking
1. The 10-Meter Sprint Test (Pure Speed)
This is your simplest option and perfect for tracking raw acceleration:
Setup:
- Place one cone at your start line
- Measure exactly 10 meters and place another cone
- Stand to the side with your stopwatch ready
How to run it:
- Athlete starts in a two-point stance (standing, ready position)
- On "GO," start your stopwatch
- Stop the watch when their chest crosses the finish cone
- Give them 2-3 attempts and record the best time
What you're looking for: Most youth athletes will run this in 2.0-2.5 seconds. Elite athletes can hit under 1.8 seconds. Track improvements of even 0.1-0.2 seconds: that's significant progress.
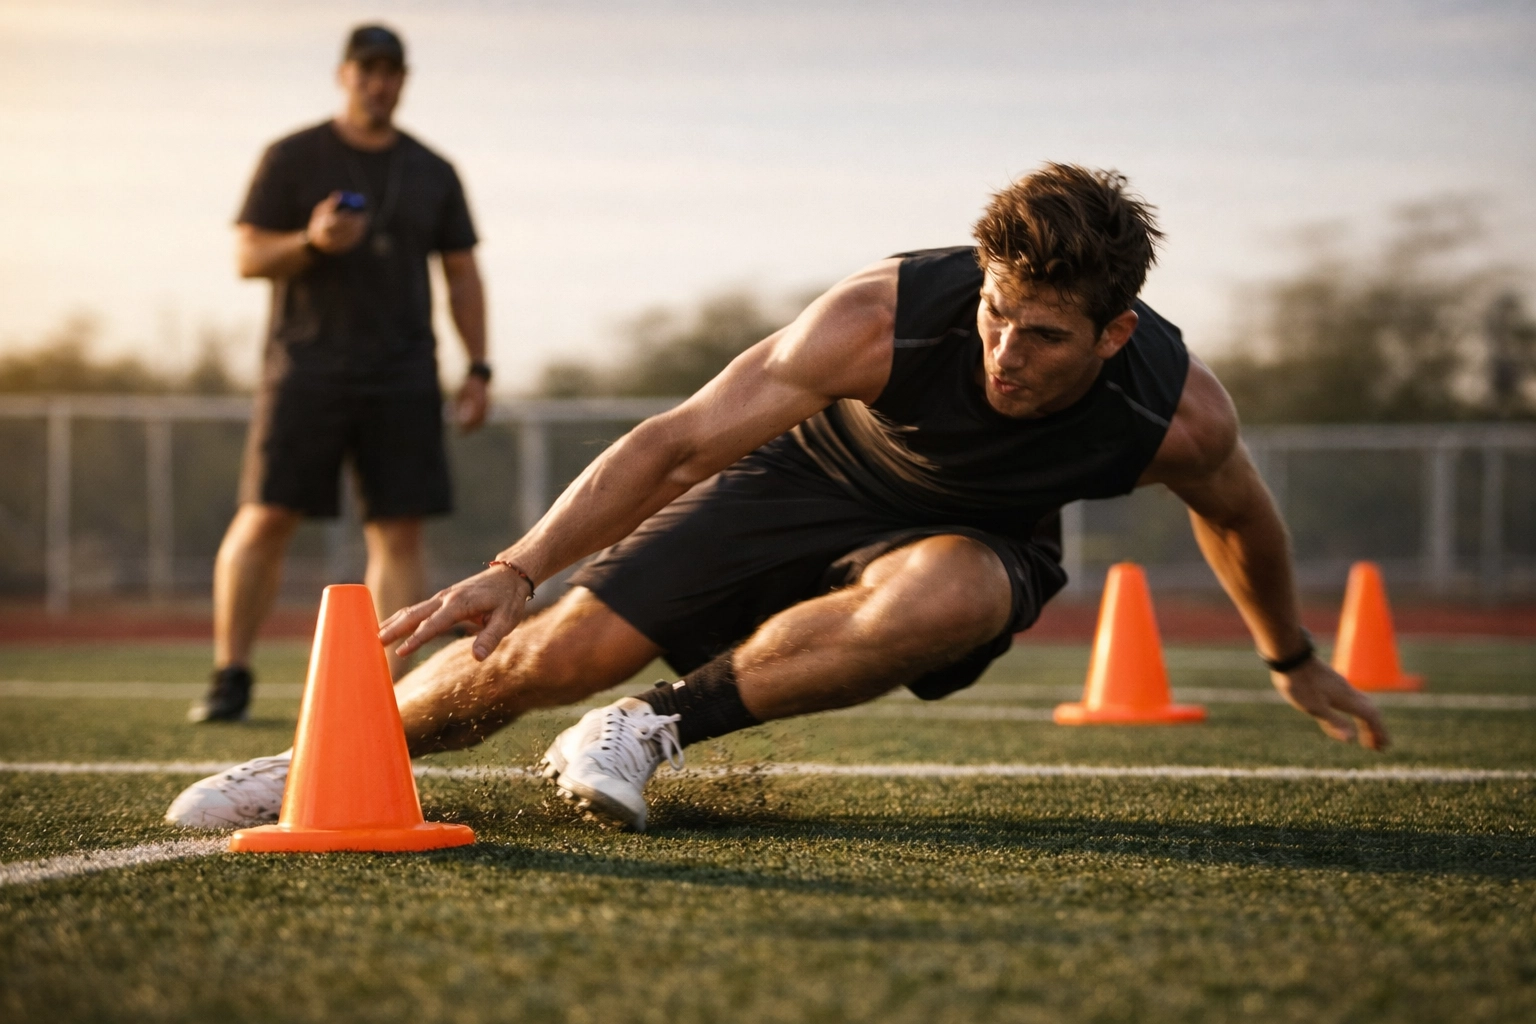
2. The Pro-Agility Test (5-10-5 Test)
This test measures speed AND change of direction: super useful for most team sports:
Setup:
- Place three cones in a straight line, 5 meters apart
- You'll have a left cone, center cone, and right cone
How to run it:
- Athlete starts at the center cone
- They place one hand down touching the line
- On "GO," they sprint to the right cone (5 meters)
- Touch the line with their hand
- Sprint back through the center to the left cone (10 meters)
- Touch the line
- Sprint back through the center cone (5 meters total)
- Stop your watch when they cross the center line
What you're looking for: Average times range from 4.5-5.5 seconds for youth athletes. Under 4.5 seconds is excellent. The hand that starts down tells you which direction they'll go first: watch for athletes who cheat by not fully touching the lines.
3. The 20-Meter Flying Sprint (Top Speed)
This one's different: it measures maximum velocity, not acceleration from a standstill:
Setup:
- Mark a 10-meter acceleration zone before your start line
- Place cones at the start (where timing begins) and finish (20 meters later)
- Total distance is 30 meters, but you only time the middle 20 meters
How to run it:
- Athlete gets a 10-meter running start to build up speed
- Start your stopwatch as they cross the first timing cone (already at speed)
- Stop when they cross the finish cone
What you're looking for: This tells you about top-end speed, which is different from acceleration. Times under 3.0 seconds indicate good maximum velocity. This is great for identifying athletes who accelerate well but max out early versus those who build to higher top speeds.
Getting Consistent, Reliable Times (Even Without Electronics)
Here's the reality: hand-timing with stopwatches isn't as precise as electronic timing gates. You might be off by 0.1-0.2 seconds compared to laser timers. But that's okay: consistency matters more than perfection when you're tracking progress over time.
Tips for Better Accuracy:
Use the same timer: If possible, have the same person do all the timing. Different people react differently, so keeping one consistent timer reduces variation.
Time the same way every session: Always start on the same cue (athlete's first movement, not your "GO" signal), and always stop on the same landmark (chest crossing the line works well).
Test under similar conditions: Wind, temperature, and surface conditions affect times. Try to test at similar times of day and in similar weather.
Get 2-3 attempts: Give athletes multiple attempts (with proper rest between: 3-5 minutes for full recovery) and record their best time.
Consider using two timers: If you have two coaches available, have both time simultaneously and average the results. This reduces individual timing error.
Tracking Progress Over Time (This Is Where It Gets Good)
Raw times are useful, but watching improvement over weeks and months is where the real coaching gold lives. Here's how to track effectively:
Create a Simple Spreadsheet
Set up columns for:
- Athlete name
- Date of test
- Test type (10m sprint, Pro-Agility, etc.)
- Attempt 1, 2, 3
- Best time
- Notes (weather, surface, any issues)
Test Every 4-6 Weeks
Don't test too often. Give your training time to work. Every 4-6 weeks is the sweet spot for seeing meaningful changes without burning out your athletes on testing days.
Look for Patterns, Not Just Times
- Is an athlete consistently improving their 10m sprint but plateauing on change-of-direction tests? They might need more agility training gear for coaches like agility ladders or slalom poles.
- Do times get worse as the season progresses? Could indicate fatigue or overtraining.
- Big improvements across all tests? Your training's working: keep it up!
Celebrate Small Wins
A 0.1-second improvement might not sound like much, but at speed, that's a massive gain. Make sure athletes understand that tenths of a second matter. That's the difference between beating a defender or getting caught.
Common Mistakes to Avoid
Starting the stopwatch too late: The most common error is starting on your "GO" command instead of the athlete's first movement. Train yourself to watch their feet or first body movement.
Not warming up properly: Cold muscles run slow and risk injury. Always do a proper 10-15 minute warm-up before testing.
Testing when fatigued: Don't test at the end of a hard practice. You want athletes fresh to see their true capabilities.
Comparing athletes of different ages/sizes directly: A 14-year-old and 17-year-old will have different times. Track individual progress, not just who's fastest today.
Inconsistent conditions: Testing on wet grass one day and dry turf the next will skew your results. Try to keep conditions similar.
Forgetting to record immediately: Write times down right away. You'll forget, trust me.

Making Your Speed Tests Feel Like Part of Training
Testing doesn't have to feel like a boring assessment day. Here's how to integrate it smoothly:
Make It Competitive (in a Good Way)
Athletes love competing. Post a "best times" board and let them chase personal records. Just emphasize beating their own times, not just being fastest overall.
Use Tests as Benchmarks Before Training Blocks
Test at the start of a 6-week speed training block, then retest at the end. This shows cause and effect between training and results.
Keep It Quick and Organized
Don't let athletes stand around getting cold. Use stations: while one athlete runs, the next is preparing, and another is resting. Keep it moving.
What to Do When You Want to Upgrade
If you decide later that you want more precision or features, you can always add equipment gradually:
- Timing gates – When budget allows, electronic timing eliminates human error
- Speed training tools – Add resistance bands or speed sleds to develop the speed you're measuring
- Video recording – A phone on a tripod lets athletes see their technique and gives you extra data
But honestly? Start simple. Get good at basic testing first. You can track meaningful progress and make real coaching decisions with nothing more than cones and a stopwatch.
Your Next Steps
Don't overthink this. Here's what to do this week:
- Gather your basic equipment – Grab some cones, a stopwatch, and a measuring tape
- Pick one test – Start with the 10-meter sprint (it's the easiest)
- Set up your testing area – Measure it out accurately once, then you can reuse it
- Create your tracking sheet – Simple spreadsheet or even pen and paper works
- Schedule your first testing session – Pick a day when athletes will be fresh
You don't need expensive tech to be an effective coach. You just need speed training gear for coaches that works, a consistent method, and the dedication to track progress over time. Your athletes will get faster, you'll have the data to prove it, and you'll have spent maybe £30 on equipment instead of £300+.
Get out there and start tracking. Your team's speed gains are waiting.
