
Your Quick-Start Guide to Coaching Equipment: Do This First Before Buying Anything
by Paul Harwood
·
If you're a new coach staring at endless lists of "essential" coaching equipment online, feeling overwhelmed and wondering where to even start: you're not alone. The sports equipment world can feel like a maze, with everyone telling you that you need the latest agility ladder, resistance bands, or high-tech gadgets.
Here's the truth: you don't need everything at once. What you need is a simple, logical plan that prioritizes the right gear in the right order. This guide will walk you through exactly what to buy first, what can wait, and how to build your coaching kit without blowing your budget.
Why Your Buying Order Actually Matters
Before we dive into the specifics, let's talk about why sequence matters when you're building your coaches sports equipment collection.
Buying gear randomly leads to three major problems:
- Wasted money on items you don't use regularly
- Missing critical equipment when you need it most
- Storage chaos with duplicate or unnecessary items cluttering your space
Think of building your coaching kit like building a house. You wouldn't install the chandelier before you've poured the foundation, right? The same logic applies here. Start with what keeps your athletes safe and your sessions running smoothly, then build from there.
The 6-Step Priority Framework for Essential Coaching Gear
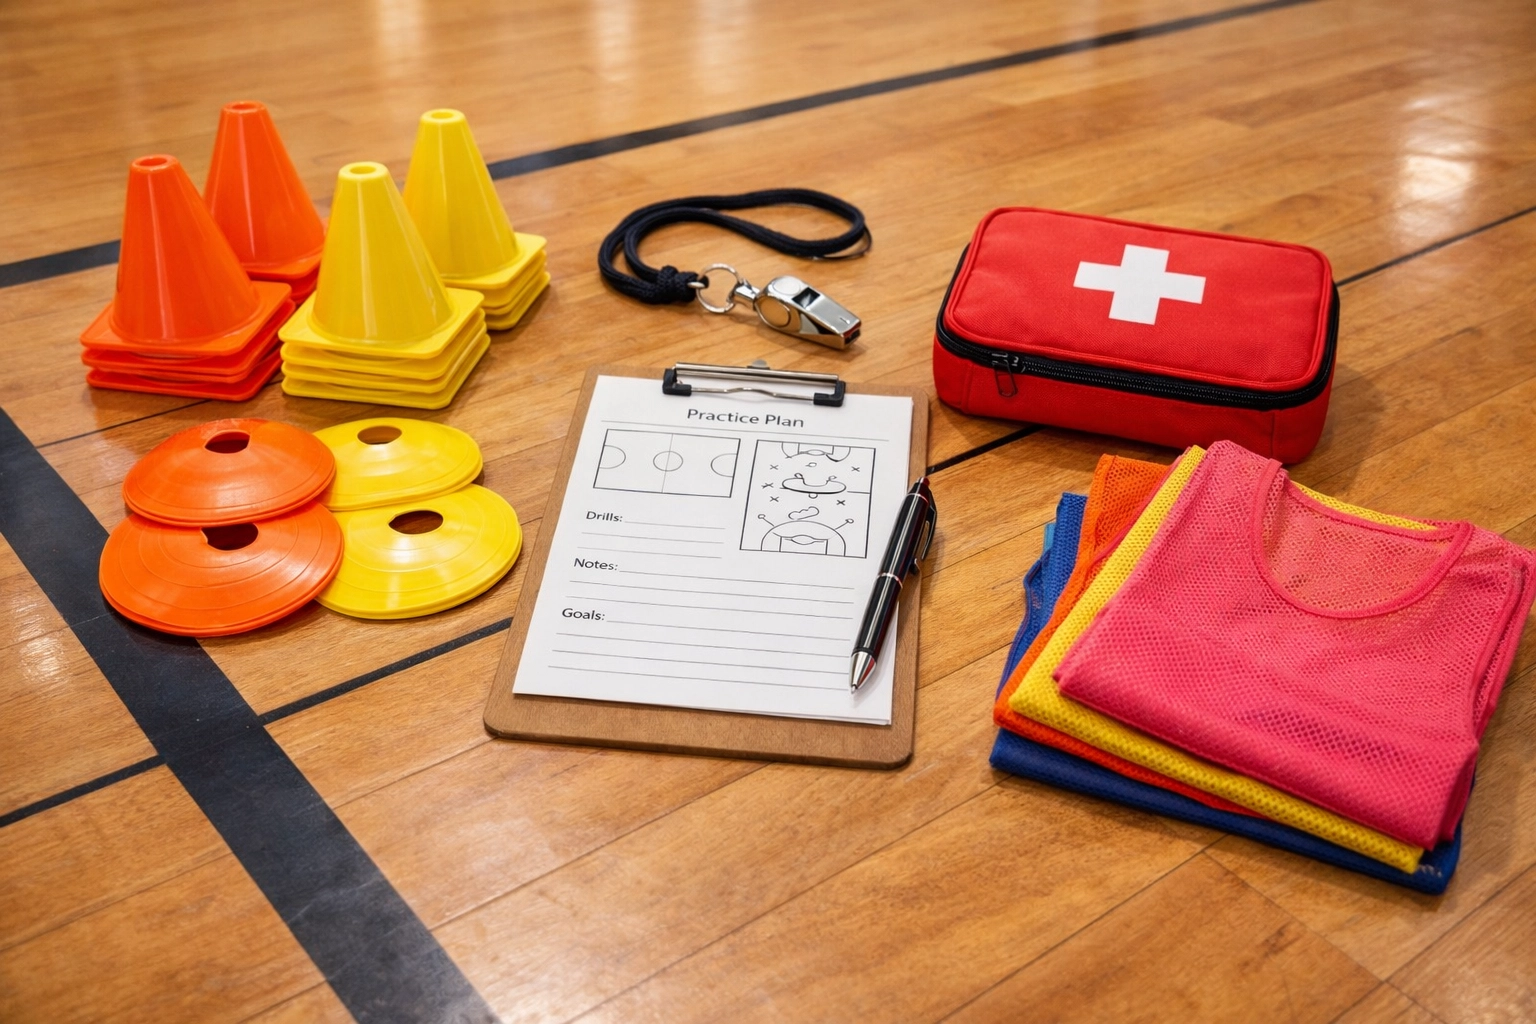
Step 1: Safety Equipment First (Non-Negotiable)
Before you buy a single cone or whistle, your first purchase should be a comprehensive first aid kit. This isn't optional: it's your responsibility as a coach.
Your kit should include:
- Adhesive bandages in multiple sizes
- Antiseptic wipes and spray
- Instant ice packs (keep 3-4 on hand)
- Athletic tape and pre-wrap
- Elastic bandages for sprains
- Disposable gloves
- Emergency contact forms
Budget estimate: £30-50 for a quality kit that covers a team of 15-20 athletes
You'll hopefully never need most of what's in there, but when an athlete takes a hard fall or twists an ankle, you'll be grateful it's there. Keep it in your gear bag, know where everything is, and check expiration dates twice a year.
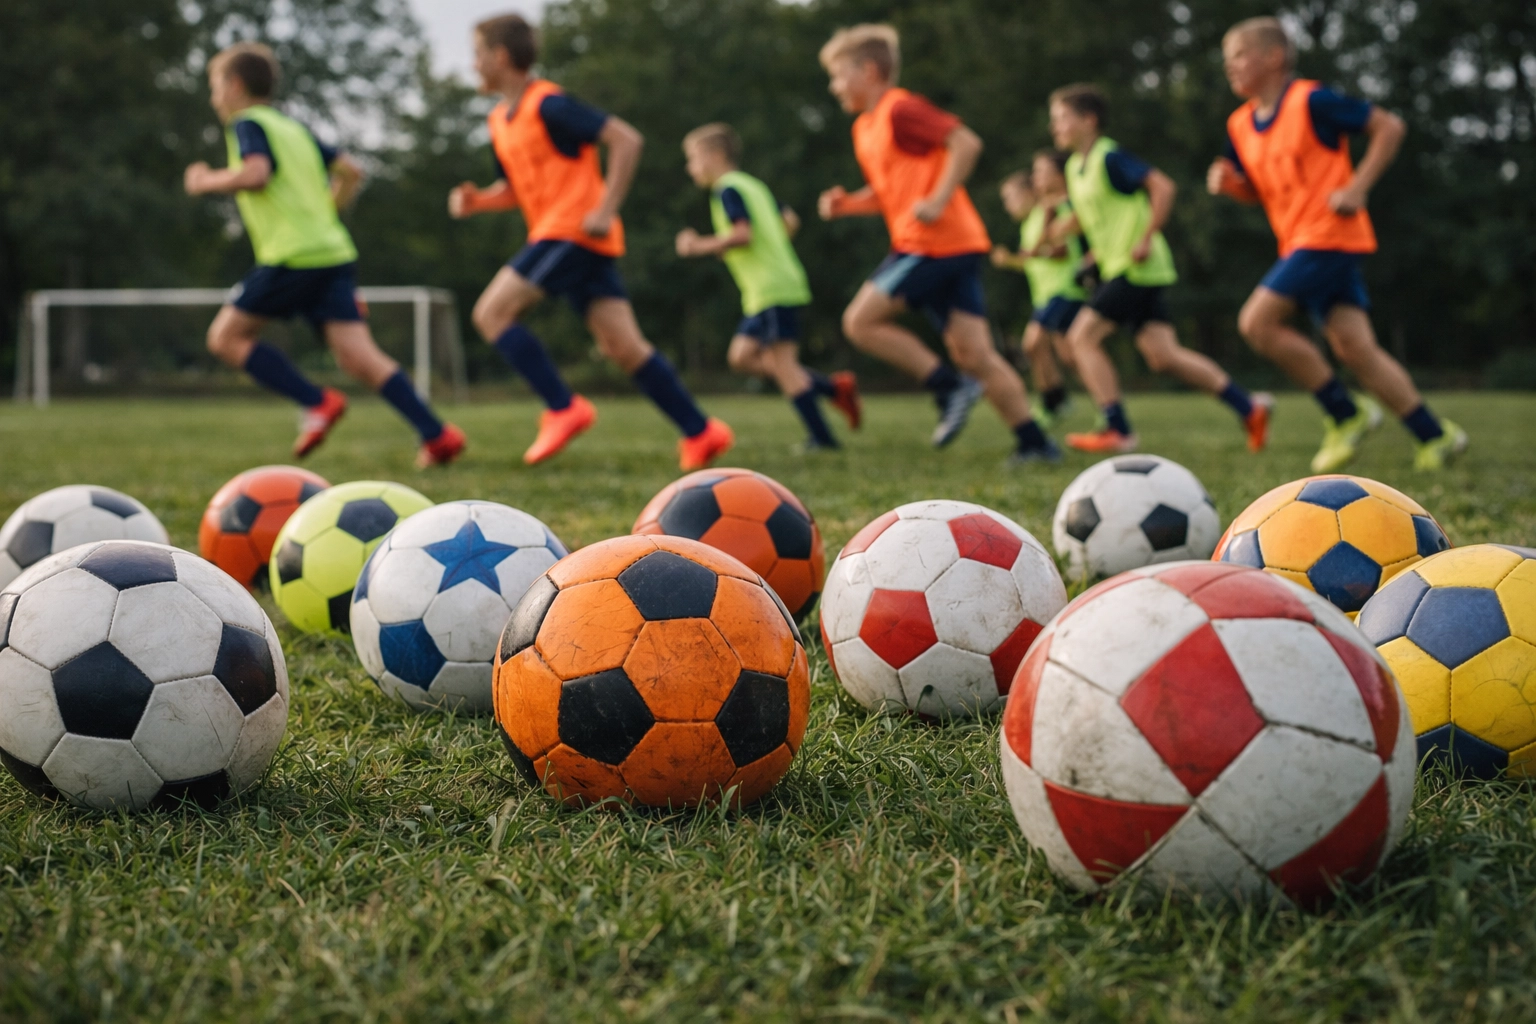
Step 2: Core Balls for Your Sport (5-10 Minimum)
This might seem obvious, but you'd be surprised how many new coaches underestimate how many balls they actually need. One or two balls for a team of 12-15 athletes creates constant downtime and frustration.
Why you need multiple balls:
- Drills keep flowing without waiting
- You have backups when balls go missing or deflate
- Small-sided games become possible
- Athletes get more touches during practice
Stock at least 5-10 quality balls appropriate to your sport: footballs, basketballs, netballs, whatever your team plays. Don't forget a ball pump with needles to maintain proper inflation. A flat ball is useless, and checking pressure before every session should be part of your routine.
Budget estimate: £100-200 for 8-10 quality balls plus pump
Step 3: Team Organization Tools (Bibs and Markers)
Once you've got safety covered and enough balls for everyone, focus on tools that help you organize training sessions efficiently.
Training bibs (pinnies) are absolute game-changers. They let you quickly split athletes into teams for drills, small-sided games, and scrimmages without confusion. Aim for at least 12-15 bibs in 2-3 different colours.
Marker cones are equally essential for setting boundaries, creating drill stations, and organizing space. The FH Pro Mini Marker Saucer Cone Set gives you 24 markers in two colours: perfect for starting out.
Budget estimate: £40-60 for bibs and basic marker set
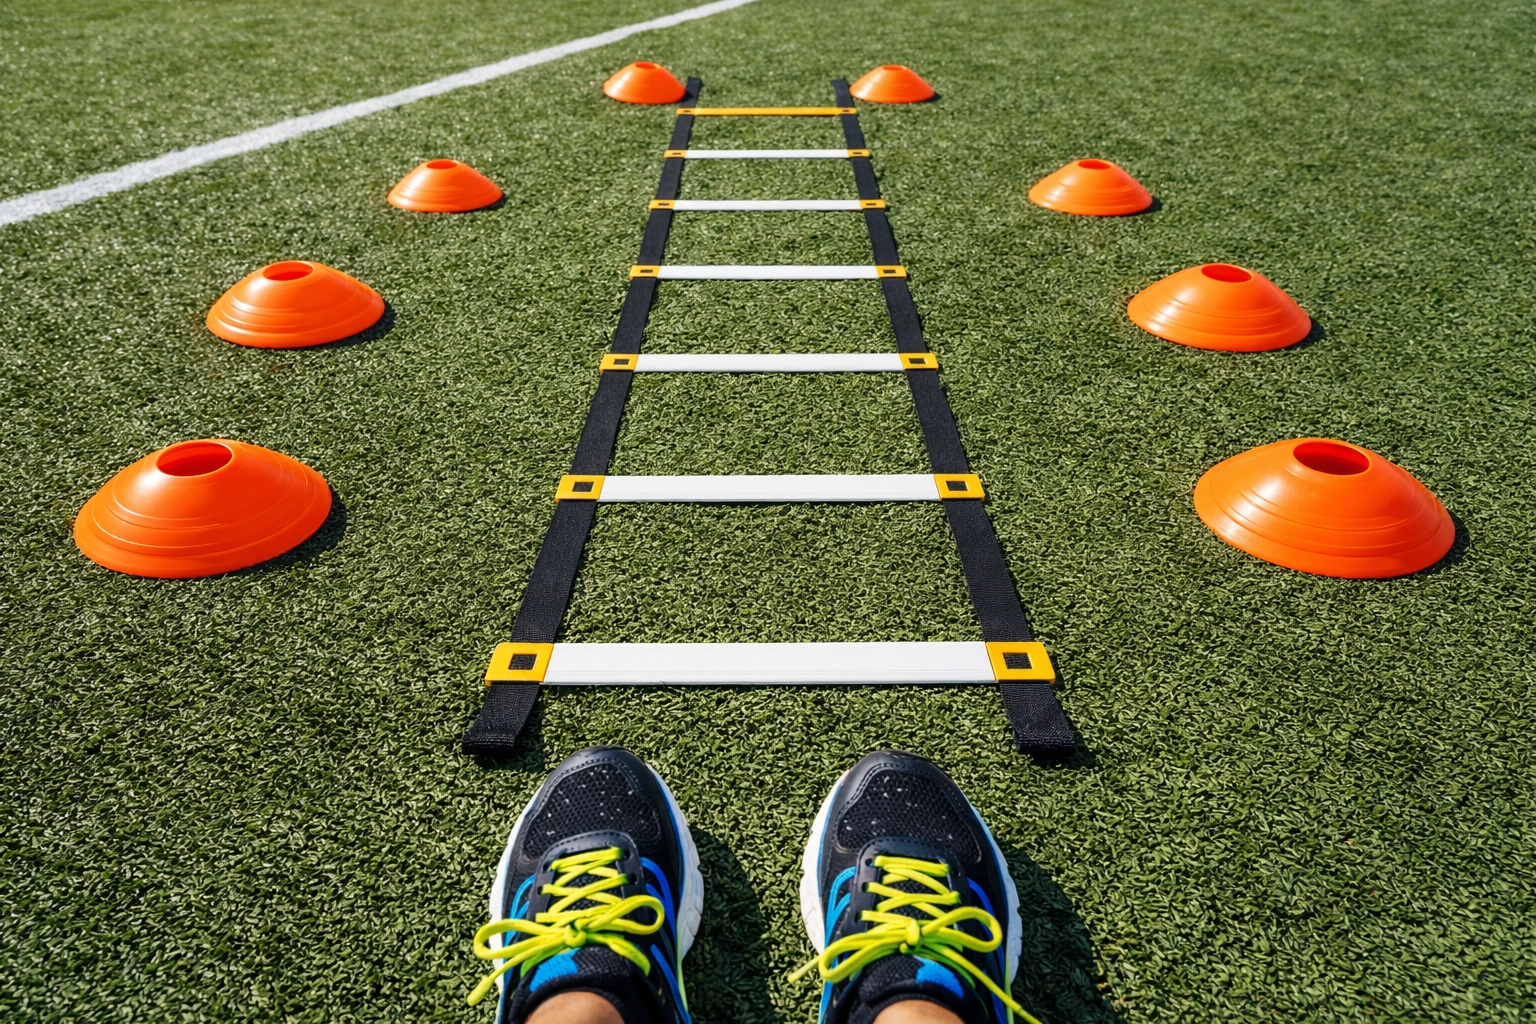
Step 4: Basic Drill Equipment (Versatile and Affordable)
Now you can start thinking about affordable coaching equipment that enhances skill development. Focus on versatile items that work across multiple drills and age groups.
Priority drill equipment:
- Cones (full-size): For setting up grids, boundaries, and drill stations. Get at least 20.
- Agility ladder: Incredible value for footwork drills. The FH Speed Training Ladder is affordable and works for all ages.
- Slalom poles: Great for dribbling drills, agility work, and coordination training. Consider the FH Pro Slalom Poles.
These tools are versatile across nearly every sport and relatively inexpensive. A single agility ladder can be used for dozens of different drills, making it one of the best investments you'll make.
Budget estimate: £60-100 for basic drill equipment
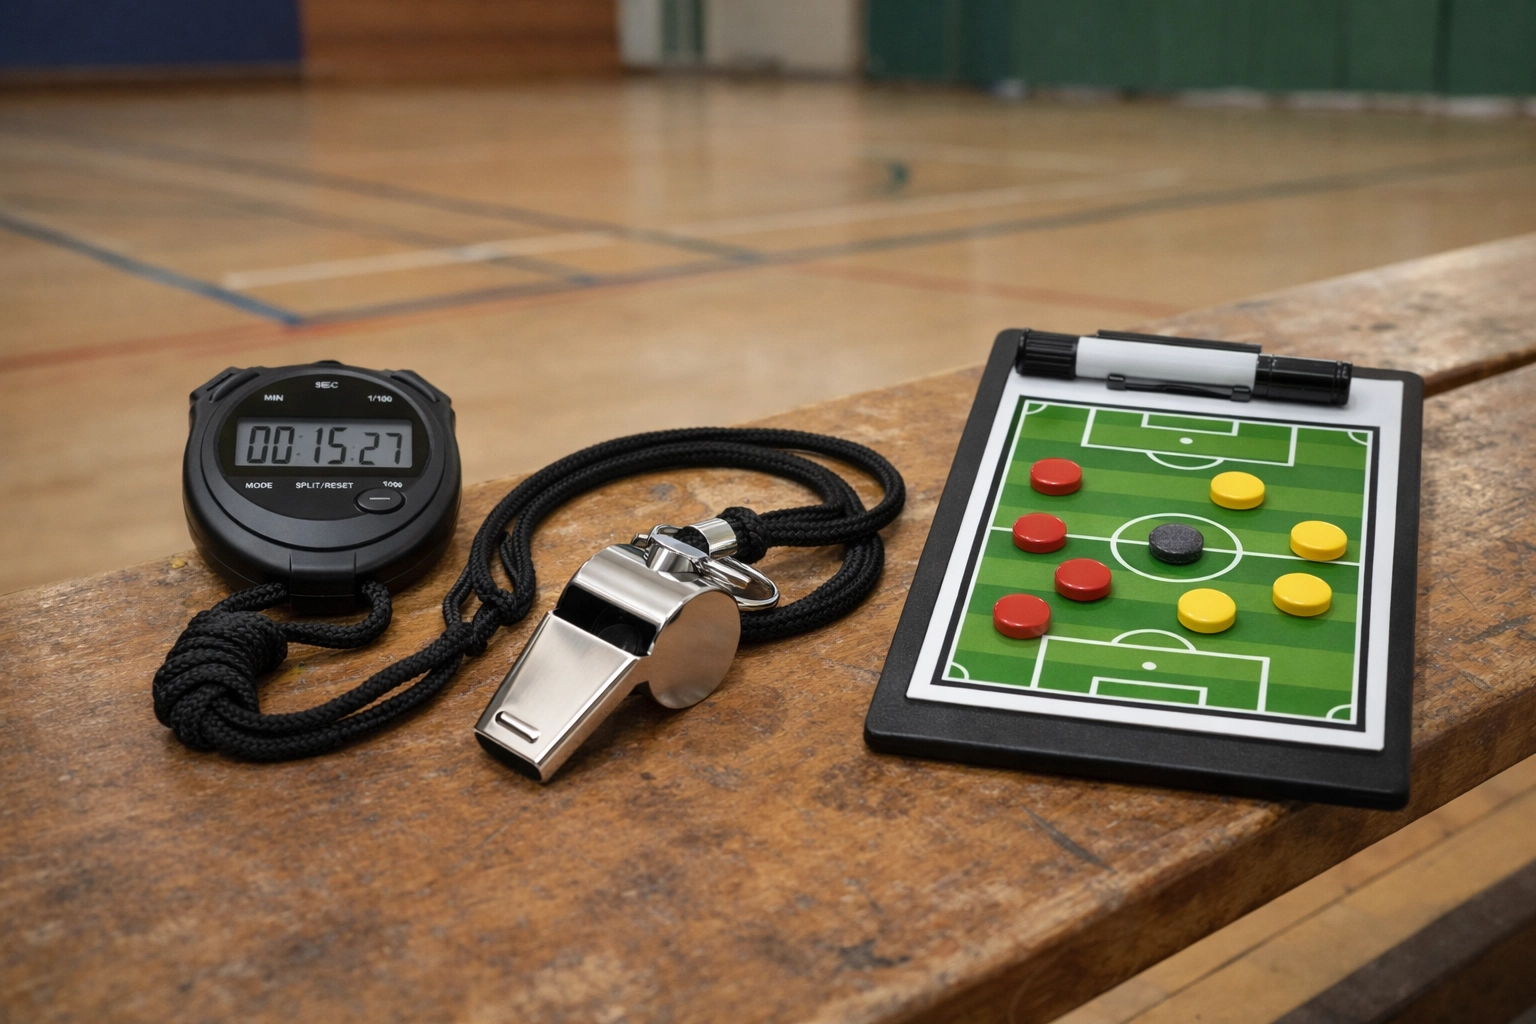
Step 5: Communication and Control Tools
You need ways to manage your sessions effectively and communicate clearly with your athletes.
The essentials:
- Whistle: Non-negotiable for controlling training pace and getting attention
- Stopwatch/timer: Critical for timed drills and tracking progress
- Tactical board: Helps visualize strategies, formations, and plays
These items are relatively cheap but massively improve your ability to coach effectively. A whistle gives you instant command of the session. A timer keeps drills structured and competitive. A tactical board makes complex concepts visual and easier to understand.
Budget estimate: £25-40 for all three items
Step 6: Organization and Storage Solutions
Once you've accumulated equipment, you need a way to transport and protect it. This is where many new coaches make mistakes: they wait too long to invest in proper storage, resulting in lost or damaged gear.
Get a durable gear bag with:
- Multiple compartments for organization
- Water-resistant material
- Comfortable, padded straps
- Enough space to grow your collection
A quality bag protects your investment and makes setup/breakdown at training sessions significantly faster. You'll know exactly where everything is, and nothing gets left behind.
Budget estimate: £40-70 for a quality coaching bag
Common Mistakes New Coaches Make (And How to Avoid Them)
Mistake #1: Buying everything at once Start with the essentials and add as you identify genuine needs. Your requirements will become clearer after a few weeks of coaching.
Mistake #2: Choosing price over quality for core items Cheap balls that deflate constantly or bibs that tear after two sessions actually cost you more in the long run. Invest reasonably in items you'll use every session.
Mistake #3: Ignoring storage from the start Lost cones, damaged equipment, and forgotten items cost money and time. Organize from day one.
Mistake #4: Buying sport-specific gear too early Resistance bands, speed parachutes, and specialized training tools can wait until you've established your core kit and identified specific development needs.
Your First Purchase Checklist
Ready to start building your coaches sports equipment collection? Here's your shopping list in priority order:
Immediate priorities (Week 1):
- ✅ First aid kit
- ✅ 8-10 quality balls + pump
- ✅ Training bibs (12-15)
- ✅ Marker cones (24+)
- ✅ Whistle
Next additions (Weeks 2-4):
- ✅ Full-size cones (20+)
- ✅ Agility ladder
- ✅ Stopwatch/timer
- ✅ Tactical board
- ✅ Gear bag
Future investments (Once established):
- Resistance bands
- Speed and agility equipment
- Sport-specific specialized tools
Next Steps: Build Smart, Coach Better
Building your coaching equipment collection doesn't have to be complicated or expensive. By following this priority framework, you'll have everything you need to run safe, effective, engaging training sessions without unnecessary spending.
Remember: The best coaches aren't the ones with the most gear: they're the ones who maximize what they have. Start with the essentials, focus on quality over quantity, and add equipment as genuine needs arise.
Your athletes don't need fancy gadgets to improve. They need a prepared, organized coach who creates a safe environment and runs structured sessions. Everything on this list helps you do exactly that.
Ready to get started? Focus on steps 1-3 first, and you'll be running professional-quality sessions within weeks. The rest will come naturally as your coaching style develops and your team's needs become clear.
