
Agility Spots: Fun and Effective Drills for Precision Footwork
by Paul Harwood
·
If you've ever watched athletes glide across a field with laser-sharp footwork, you've probably wondered how they make it look so easy. Here's the thing : precision footwork isn't magic. It's practice. And one of the most versatile (and honestly, most fun) tools for developing that kind of control? Agility spots.
Whether you're coaching a youth team, training solo, or just looking to shake up your workout routine, agility spots are a game-changer. They're simple, portable, and open up a world of drill possibilities. Let's break down exactly how to use them.
1. What Are Agility Spots?
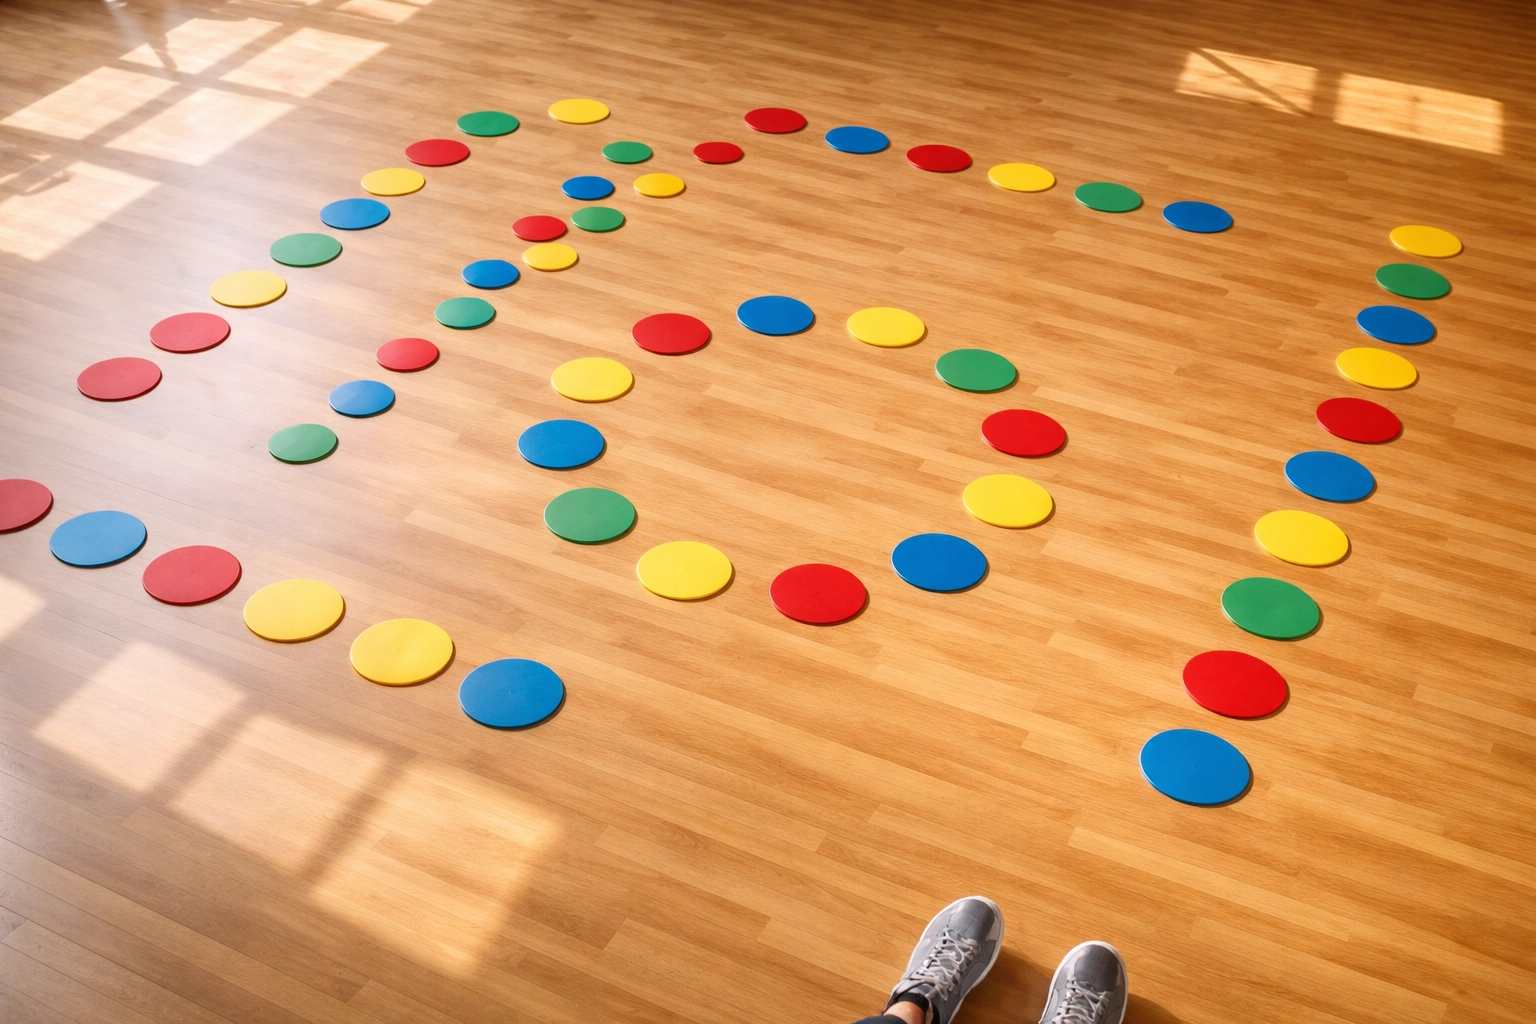
Agility spots are flat, circular markers : usually made of rubber or non-slip material : that you place on the ground to create visual targets for your feet. Think of them like dance floor markers, but for athletes.
They come in bright colours (which makes training sessions way more engaging) and are typically around 20-25cm in diameter. Unlike cones, they sit flat on the ground, so there's no tripping hazard. This makes them perfect for drills where you need to land directly on a target.
Why coaches love them:
- Lightweight and easy to transport
- Create instant visual cues for foot placement
- Work on any surface : grass, turf, gym floors
- Great for all ages and skill levels
2. The Benefits of Training With Agility Spots
Before we jump into the drills, let's talk about why agility spots deserve a place in your training kit.
Precision Over Speed
Most agility tools focus on going fast. Agility spots flip that around. They force you to be accurate first, then build speed on top of that foundation. This approach creates cleaner, more controlled movement patterns.
Better Body Awareness
When you're aiming for a specific spot on the ground, your brain has to coordinate with your feet in real-time. This builds proprioception : your body's ability to sense where it is in space. Better proprioception means fewer missteps during games.
Engages Athletes of All Levels
Here's the beauty of agility spots: you can make drills as simple or complex as you want. Beginners can work on basic hops. Advanced athletes can tackle multi-directional sequences at full speed.
3. Setting Up Your Agility Spots
Before you start any drill, take a moment to think about your setup. The arrangement of your spots will determine the type of movement you're training.
Common layouts include:
- Straight line : Great for linear jumping and hopping sequences
- Zig-zag pattern : Perfect for lateral movement and quick direction changes
- Circle or clock face : Ideal for rotational drills and 360-degree awareness
- Random scatter : Challenges reaction time and decision-making
- Grid pattern : Works well for multi-directional footwork combinations
Pro tip: Start with spots placed about 50-60cm apart. As athletes improve, you can increase the distance to challenge their range of motion, or decrease it to demand quicker feet.
4. Beginner Drills: Building Your Foundation
If you're new to agility spots (or working with younger athletes), start here. These drills focus on controlled movements and proper technique.
Two-Foot Jumps
Setup: 5-6 spots in a straight line
How to do it:
- Stand behind the first spot
- Jump forward with both feet, landing on the first spot
- Immediately jump to the next spot
- Continue down the line
- Walk back and repeat
Focus on: Soft landings with bent knees. Stay on the balls of your feet.
Sets: 3-4 rounds
Single-Leg Hops
Setup: 5-6 spots in a straight line
How to do it:
- Balance on your right foot behind the first spot
- Hop forward, landing on your right foot on each spot
- Complete the line, then switch to your left foot
Focus on: Stability on landing. Don't rush : control beats speed here.
Sets: 2-3 rounds per leg
Lateral Shuffle Touch
Setup: 4 spots in a horizontal line, about 1 metre apart
How to do it:
- Start at one end in an athletic stance
- Shuffle sideways to each spot, tapping it with your hand
- Shuffle back in the opposite direction
Focus on: Low hips, quick feet, and staying balanced throughout.
Sets: 3-4 rounds
5. Intermediate Drills: Adding Complexity
Ready to step it up? These drills introduce patterns and multi-directional movement.
The Clock Drill
Setup: 8 spots arranged in a circle (like numbers on a clock face), with one spot in the centre
How to do it:
- Start on the centre spot
- Jump out to the "12 o'clock" spot, then back to centre
- Jump out to "3 o'clock," then back to centre
- Continue around the clock
Focus on: Quick transitions and landing accuracy. Keep your core tight.
Sets: 2-3 full rotations
Zig-Zag Bounds
Setup: 6 spots in a zig-zag pattern
How to do it:
- Start at the first spot
- Bound diagonally to the next spot, landing on the opposite foot
- Continue alternating down the line
Focus on: Explosive push-off and controlled landing. This is about power AND precision.
Sets: 4-5 rounds
Colour Call-Out
Setup: Scatter 6-8 different coloured spots randomly within a 3x3 metre area
How to do it:
- Athlete starts in the middle of the area
- Coach (or partner) calls out a colour
- Athlete sprints to that colour and touches it
- Returns to centre and waits for the next call
Focus on: Reaction time and sharp direction changes. Stay low and ready.
Duration: 30-45 seconds per round
6. Advanced Drills: Game-Speed Precision
For athletes who've mastered the basics, these drills simulate the demands of competitive play.
Multi-Directional Sequence
Setup: 5 spots in a plus-sign (+) pattern
How to do it:
- Start on the centre spot
- Perform this sequence at speed: forward, back to centre, left, back to centre, right, back to centre, backward, back to centre
- All movements should be quick, controlled jumps
Focus on: Maintaining rhythm and accuracy even when fatigued.
Sets: 3-4 rounds with 30-second rest between
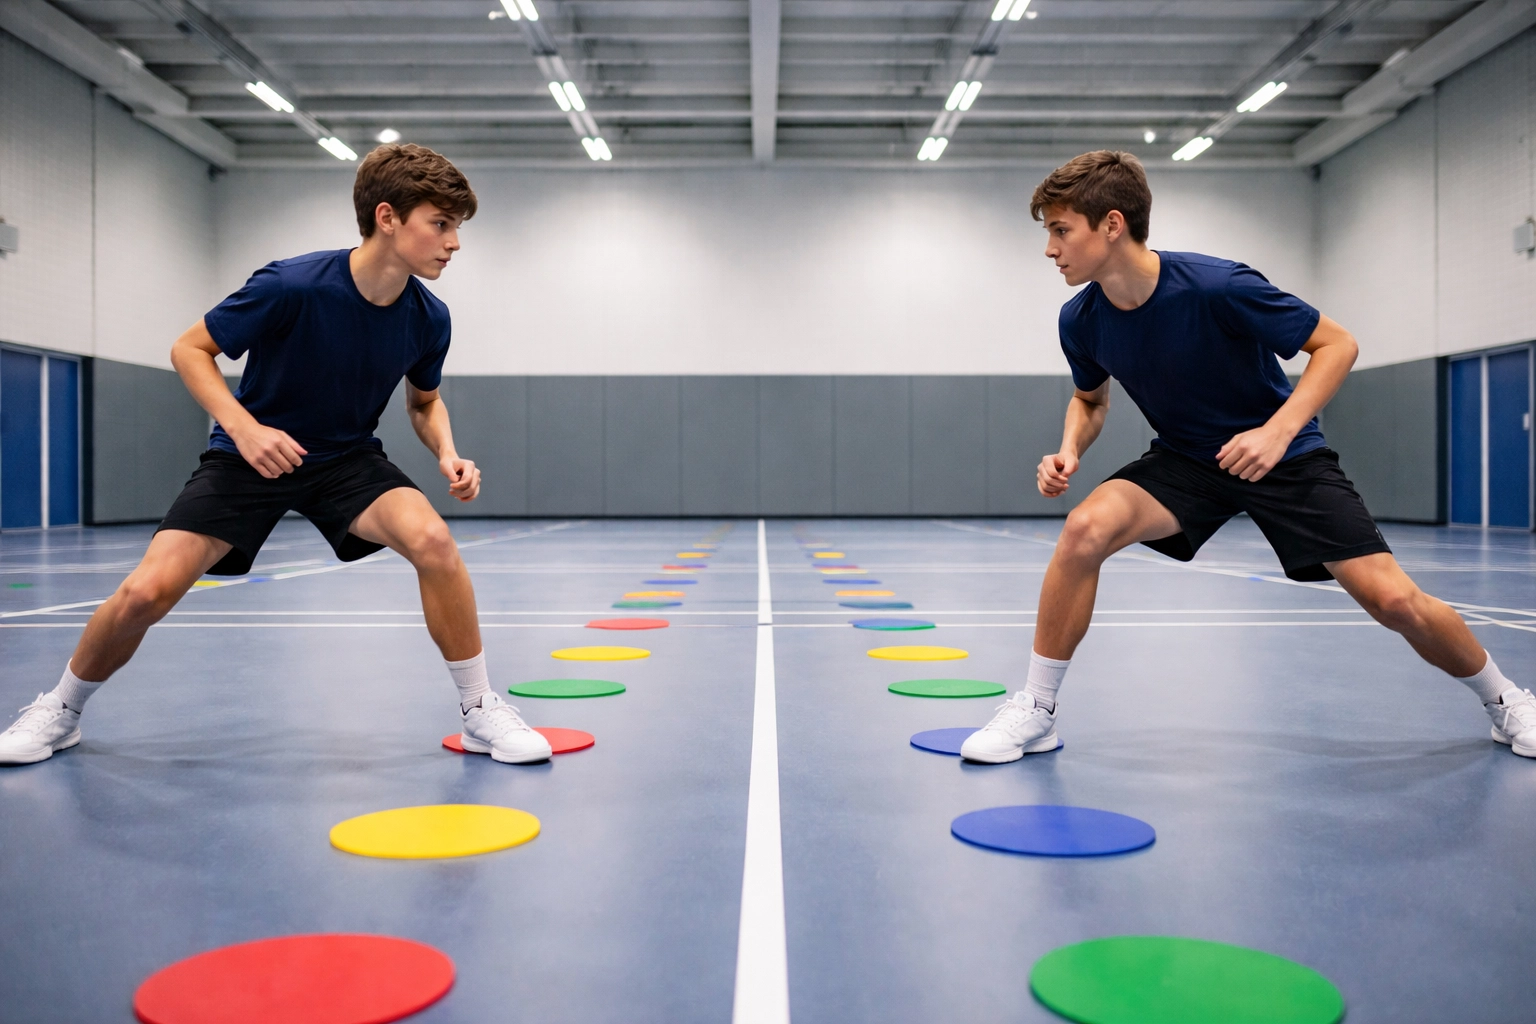
Reactive Partner Drill
Setup: 6 spots in two parallel lines (3 spots each), facing a partner
How to do it:
- One athlete leads, moving between spots in any pattern
- The partner mirrors the movement in real-time
- Switch roles after 20-30 seconds
Focus on: Peripheral vision, anticipation, and quick reaction.
Duration: 3-4 rounds each
7. Common Mistakes to Avoid
Even simple drills can go wrong if technique slips. Watch out for these issues:
- Landing flat-footed : Always stay on the balls of your feet for quicker reactions
- Looking down too much : Glance at spots, but train yourself to feel the placement
- Rushing before you're ready : Nail the technique first, then add speed
- Skipping rest periods : Fatigue leads to sloppy footwork. Rest properly between sets
- Ignoring arm movement : Your arms help generate power and balance. Use them!
8. Building Agility Spots Into Your Training
The best part about agility spots? They pair perfectly with other equipment. Try combining them with a speed ladder for comprehensive footwork sessions, or use them as target markers during resistance band drills.
A sample weekly plan might look like:
- Monday: Agility spots (precision focus)
- Wednesday: Speed ladder + spots combo
- Friday: Reactive drills with partner
Aim for 15-20 minutes of spot work per session. That's enough to see real improvement without burning out.
Ready to Get Started?
Agility spots might look basic, but don't underestimate them. They're one of the most effective tools for building the kind of precise, controlled footwork that separates good athletes from great ones.
Start with the beginner drills, focus on landing accuracy, and gradually work your way up. Before long, you'll notice sharper cuts, quicker reactions, and way more confidence in your movement.
Check out our full range of agility training equipment to build out your kit : and get ready to move like never before.
