
Speed Pole Secrets: 5 Drills to Sharpen Your Agility and Weaving
by Paul Harwood
·
If you've ever watched a rugby winger dance past defenders or a footballer weave through a tight midfield, you've seen agility in action. That fluid movement doesn't happen by accident. It's trained. And one of the simplest, most effective tools for building that kind of speed and control? Speed poles.
Whether you're coaching a youth squad or working with experienced athletes, speed pole drills are a game-changer for developing quick feet, sharp direction changes, and the body control needed in fast-paced field sports.
In this guide, we'll break down 5 essential speed pole drills that any coach can run. No complicated setups. No fancy footwork jargon. Just clear, practical drills that get results.
1. What Are Speed Poles and Why Do They Work?
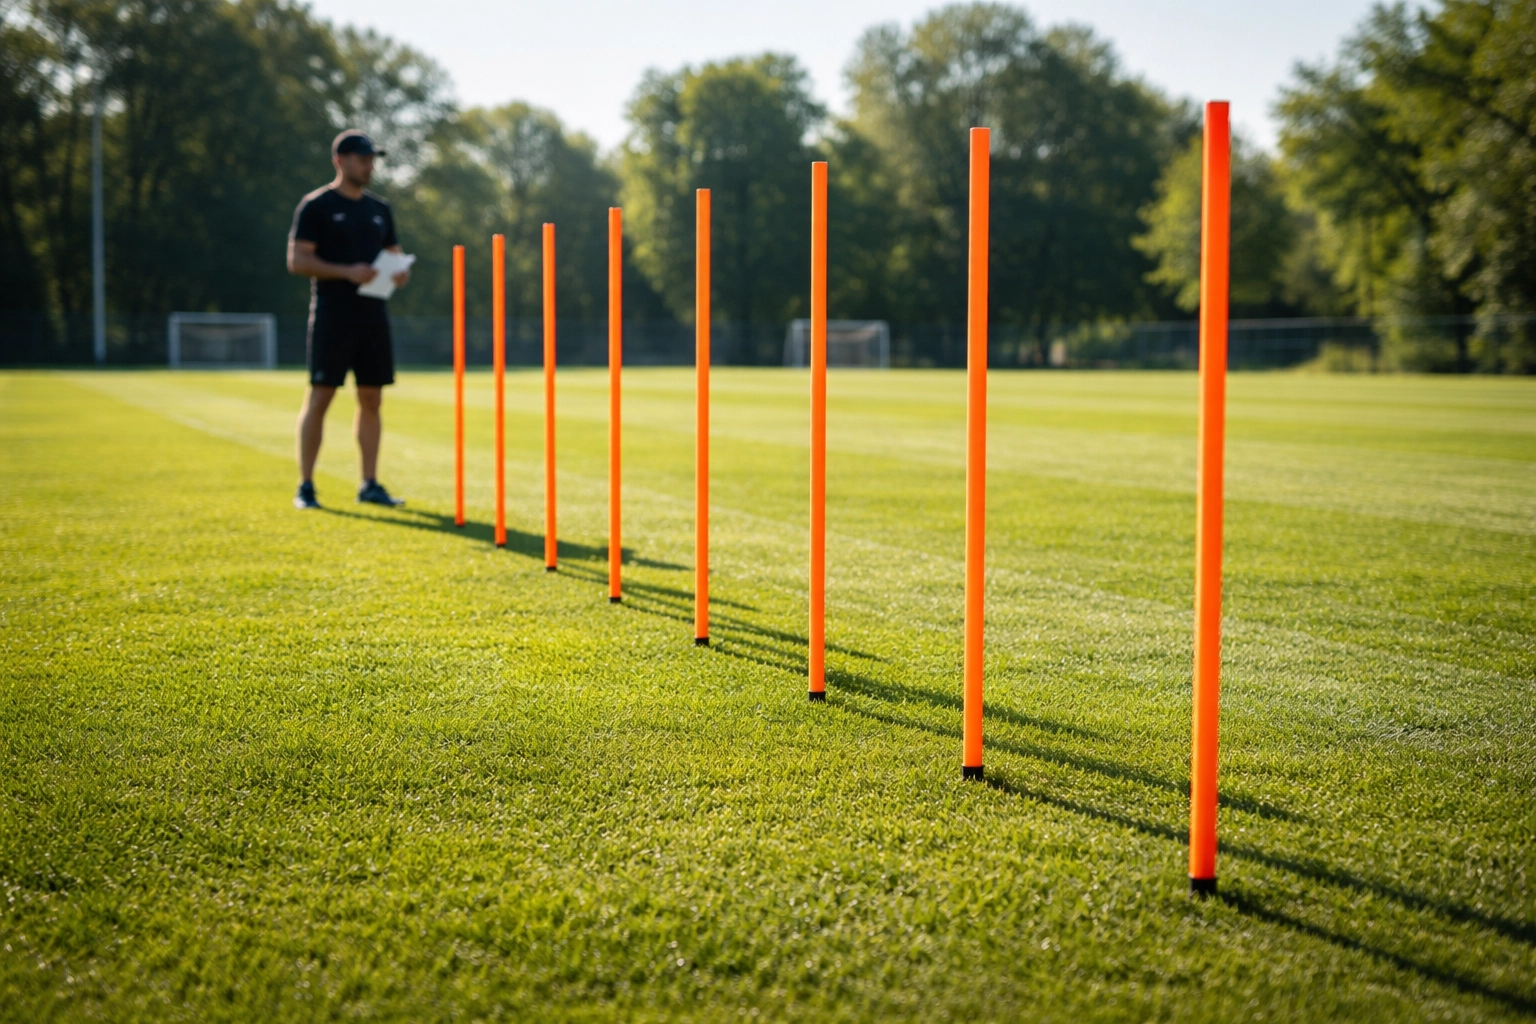
Speed poles (sometimes called agility poles or slalom poles) are lightweight, flexible poles that you stick into the ground in various patterns. Athletes then weave, sprint, and cut around them to simulate the unpredictable movements of real game situations.
Why They're So Effective
- Improve acceleration and deceleration – Athletes learn to speed up and slow down with control
- Sharpen directional changes – Perfect for sports where you're constantly changing angles
- Build coordination – Your brain and body learn to work together at speed
- Low injury risk – The poles are soft and flexible, so there's no danger if contact is made
Think of speed poles like dance partners. They force you to move with rhythm, timing, and precision. Miss a step? You'll clip the pole. Get it right? You'll glide through like a pro.
For coaches working with football, rugby, hockey, or any field sport, speed poles should be a staple in your kit bag.
2. Setting Up Your Speed Poles
Before we dive into the drills, let's talk setup. Getting the spacing right makes a huge difference in how effective your training will be.
Basic Setup Guidelines
- Spacing: Start with poles 3 feet (about 1 metre) apart for weaving drills
- Number of poles: 6-10 poles work well for most drills
- Surface: Grass or artificial turf is ideal – avoid hard surfaces
- Pattern: A straight line is the classic setup, but you can also try zigzag or curved patterns
Pro tip: For younger or less experienced athletes, increase the spacing to 4-5 feet. As they improve, tighten the gaps to increase the challenge.
If you're looking for quality poles that won't snap or blow over in the wind, check out the FH Pro Slalom Poles – they're built for exactly this kind of training.
3. The 5 Essential Speed Pole Drills
Now for the good stuff. Here are five drills that will transform your athletes' agility, weaving ability, and overall speed on the pitch.
Drill 1: The Classic Weave
This is the foundation. If your athletes can't nail this, they're not ready for anything else.
Setup: 8 poles in a straight line, 3 feet apart
How to do it:
- Start at one end of the poles
- Weave in and out as fast as possible, staying low
- Keep your eyes forward, not on your feet
- Once through, sprint back to the start in a straight line
- Repeat 5-8 times
Coaching cues:
- "Stay on the balls of your feet"
- "Quick, choppy steps through the poles"
- "Pump your arms – they help you balance"
Variation: Add a ball for football or hockey players. This increases difficulty and makes the drill sport-specific.
Drill 2: Lateral Shuffle Weave
This drill focuses on sideways movement – crucial for defenders and midfielders who need to mirror opponents.

Setup: 6 poles in a straight line, 4 feet apart
How to do it:
- Stand sideways to the first pole
- Shuffle laterally, weaving in and out of each pole
- Keep your hips low and chest up
- Don't cross your feet – use quick shuffle steps
- At the end, shuffle back the other way
Coaching cues:
- "Stay low – imagine you're under a low ceiling"
- "Don't let your feet touch"
- "Keep your weight centred"
Sets: 4-6 sets each direction
This drill builds the lateral agility needed for tackling, jockeying, and defensive positioning.
Drill 3: The In-Out Sprint
This drill teaches athletes to change direction explosively – perfect for beating a defender or reacting to a loose ball.
Setup: 8 poles in a straight line, 3 feet apart
How to do it:
- Sprint to the first pole
- Cut sharply to the outside of the pole
- Sprint to the next pole and cut to the inside
- Continue alternating in-out cuts through all poles
- Finish with a 10-metre sprint past the last pole
Coaching cues:
- "Plant hard on your outside foot when cutting"
- "Explode out of each turn"
- "Drive your knees forward"
Rest: 30-45 seconds between reps
Sets: 6-8 reps
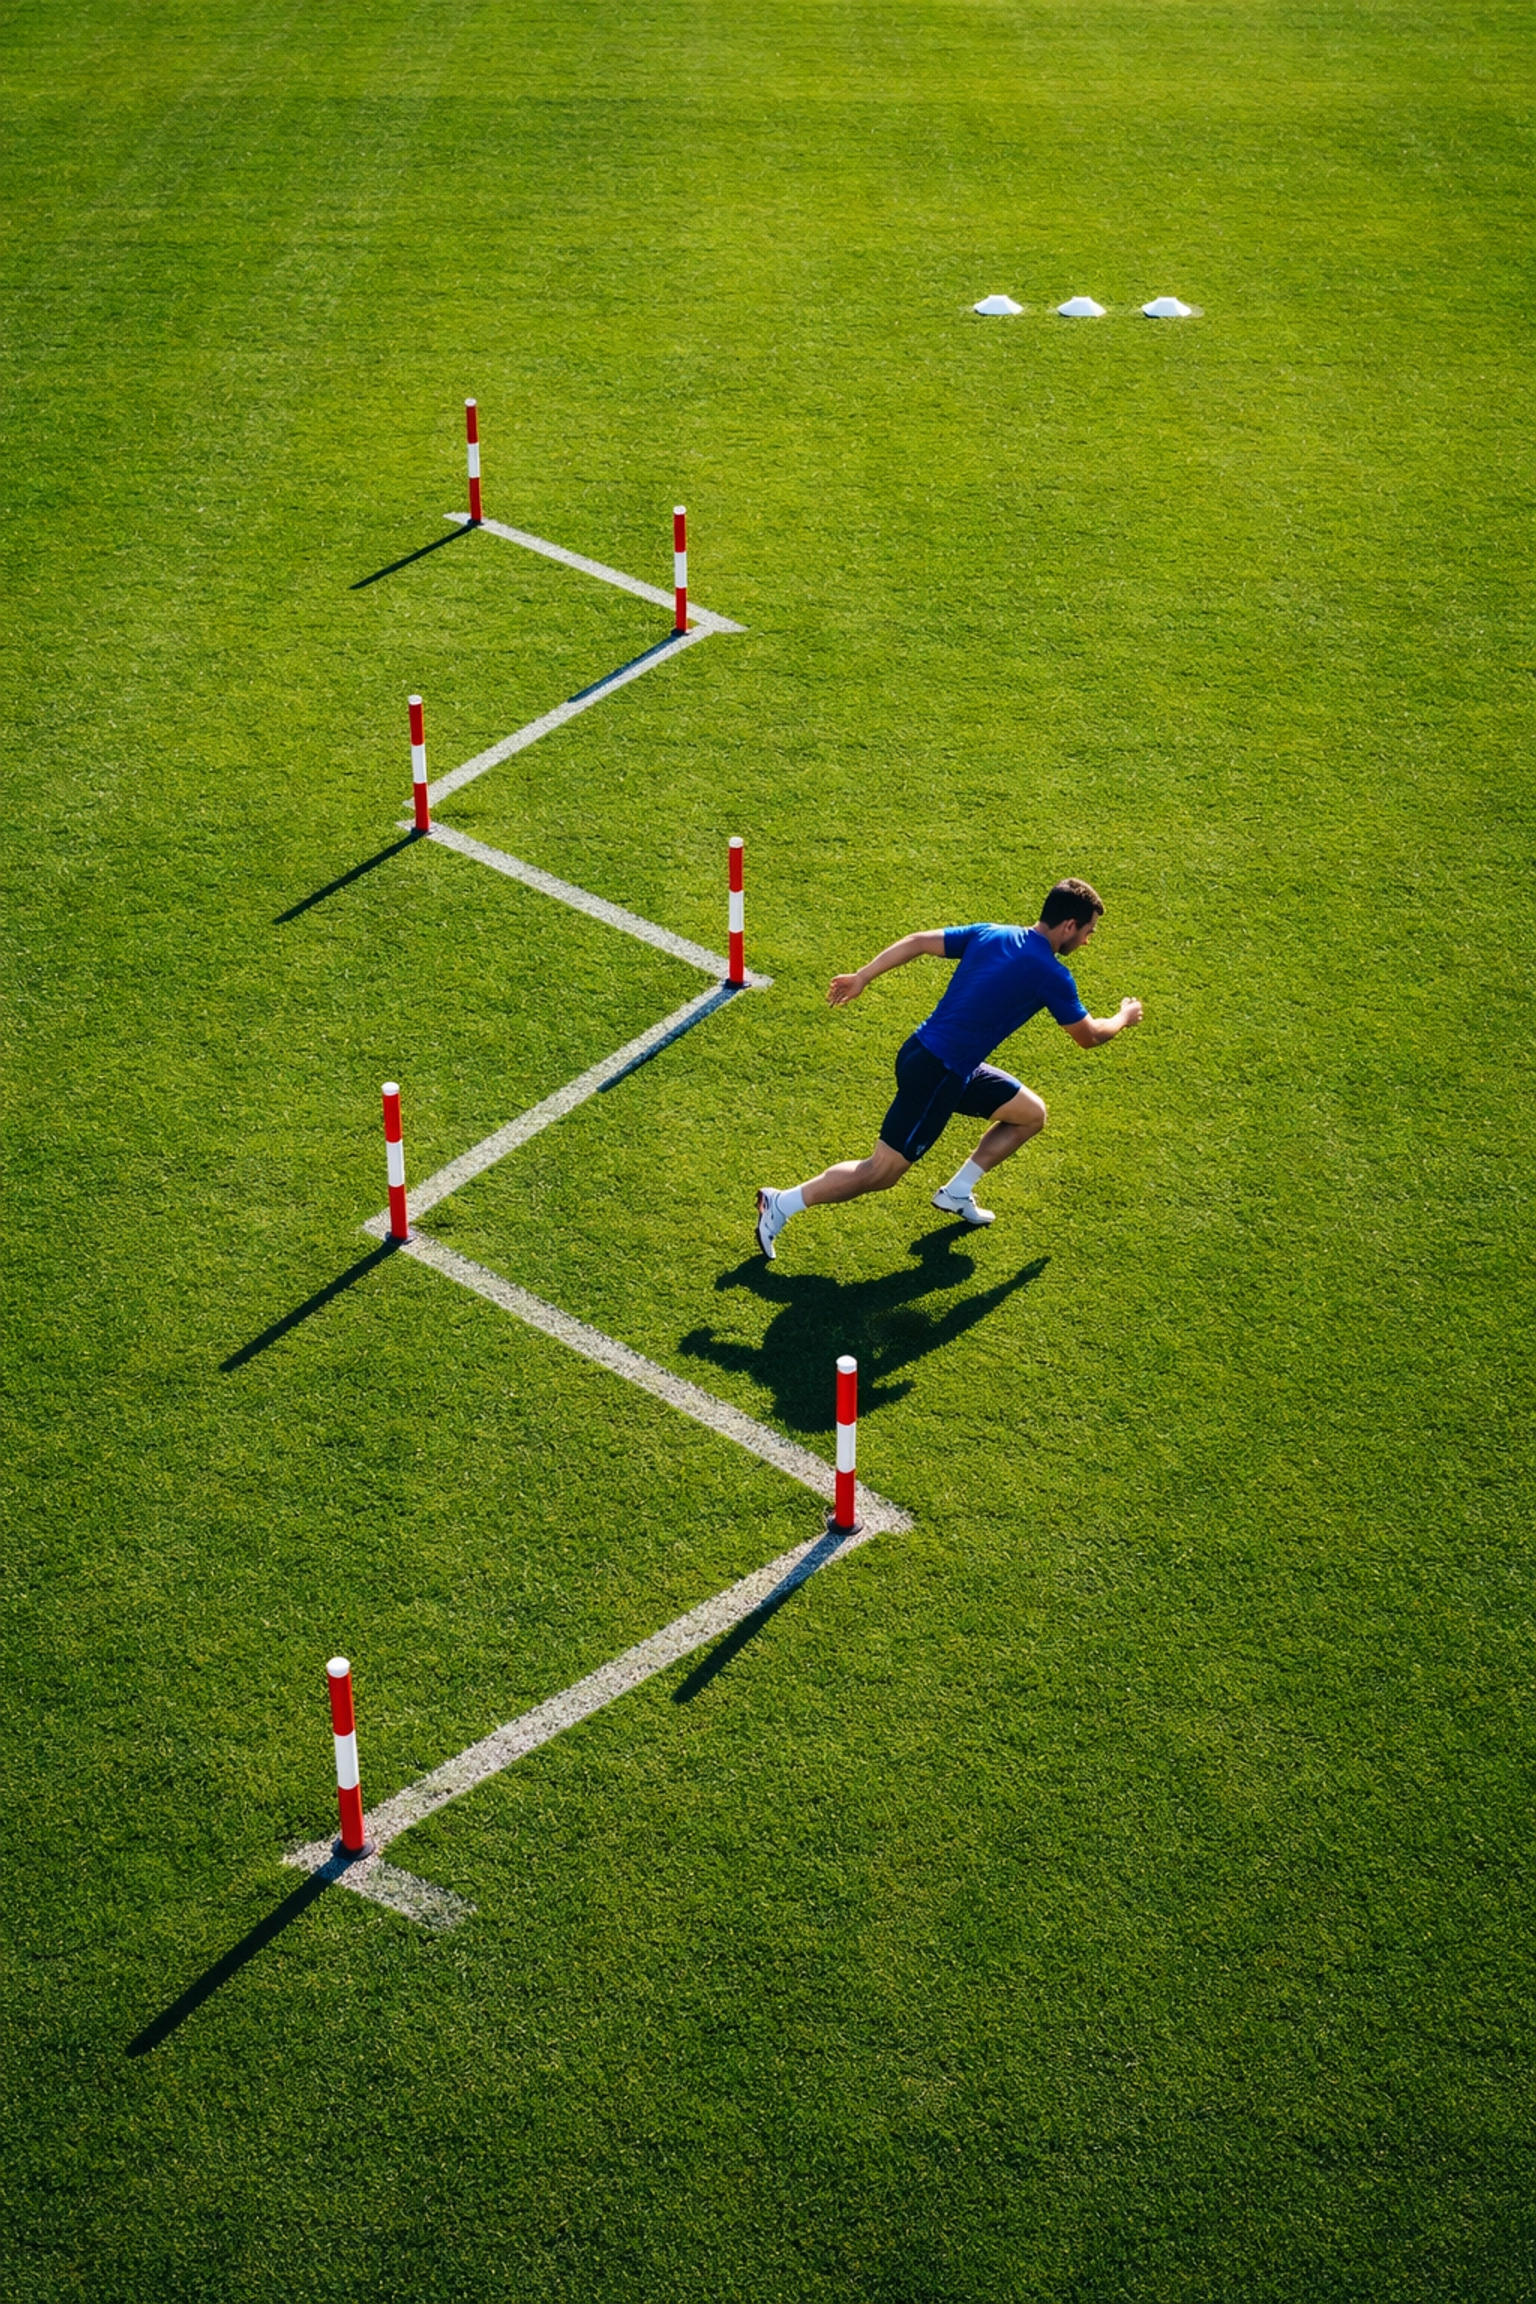
Drill 4: The Zigzag Reaction Drill
This one adds a reactive element. Athletes don't know which way they'll go next until you call it.
Setup: 6 poles in a zigzag pattern, roughly 4 feet apart
How to do it:
- Athlete starts at the first pole
- Coach points or shouts "left" or "right"
- Athlete sprints to the next pole in the direction called
- Continue through all poles with random calls
- Finish with a burst to a marker 10 metres away
Why it works: In real games, movements aren't planned. This drill trains the brain to react and move simultaneously.
Coaching cues:
- "React, don't think"
- "Stay light on your feet"
- "Eyes on me, not the poles"
Drill 5: The Speed Pole Circuit
This combines everything into one high-intensity circuit. Great for conditioning and simulating match fatigue.
Setup:
- 8 poles in a weave line
- 4 mini cones in a square (5m x 5m) at the end
How to do it:
- Weave through all 8 poles
- Sprint to the cone square
- Shuffle around the square (one lap)
- Sprint back to the start
- Rest 45 seconds and repeat
Duration: 6-10 rounds depending on fitness level
This circuit builds endurance while keeping agility and speed sharp – exactly what athletes need in the final minutes of a tough match.
4. Common Mistakes to Avoid
Even simple drills can go wrong. Here are the red flags to watch for:
- Standing too upright – Athletes should stay low with bent knees
- Looking at their feet – Encourage eyes forward, using peripheral vision
- Crossing feet during lateral drills – This kills speed and risks ankle injuries
- Going too fast too soon – Master the technique first, then add speed
- Skipping rest periods – Fatigue leads to sloppy form, which leads to bad habits
5. How to Progress Your Athletes
Once your players have nailed the basics, here's how to level up:
- Tighten pole spacing – From 3 feet down to 2 feet
- Add resistance – Use a resistance harness to build explosive power
- Combine equipment – Mix poles with a speed ladder for a complete agility session
- Add competition – Time each rep and create leaderboards
- Sport-specific additions – Include a pass or shot at the end of each drill
Time to Get Weaving
Speed poles are one of the most versatile and effective pieces of training kit you can own. With just a handful of poles and these five drills, you can dramatically improve your athletes' agility, reaction speed, and game-day performance.
Start with the basics. Master the classic weave. Then layer in lateral work, reactive drills, and circuit training. Before long, your players will be gliding past opponents like it's nothing.
Ready to build out your agility training kit? Browse the full range at Rapid Sports and get your squad moving faster this season.
